 |
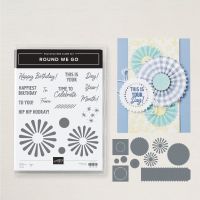
| Round We Go |
I made todays card for John's birthday, and am thrilled to share it with you in this Birthday Wishes Blog Hop. I hope you enjoy this free tutorial. The list of products used are listed at the end of this post. Below my tutorial, you will find a list of live links to the blog posts from everyone that participated in this Blog Hop. Be sure to visit everyone's blog for maximum inspiration for your next card creation.
 |
| Round We Go - Detailed view |
 |
| Round We Go - inner view |
Cutting Instructions:
- Card base - Basic White: 5 1/2" x 8 1/2", scored at 4 1/4". This is a side fold card.
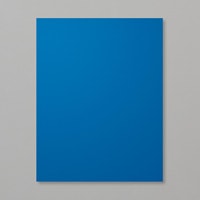
- Front matte layer - Blueberry Bushel: 5 1/4' x 4"
- Card front layer - Basic White: 5 1/8" x 3 7/8"
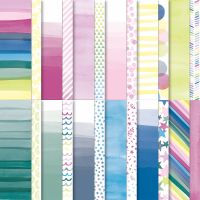
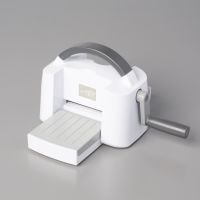
- Florette - DSP: Die cut 3x using Round We Go Florette die
- Florette circle - Blueberry Bushel: Die cut 2 using large circles
- Birthday Cake - Basic White: scrap
- Sentiment - Basic White: scrap
- Inner matte layer: 5 1/4" x 4"
- Inner message liner: 5" x 3 3/4"
Assembly Instructions:
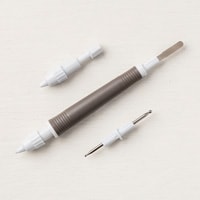
- Using the bone folder, burnish the scoreline in the card base.
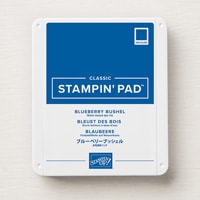
- Using Blueberry Bushel ink stamp large florette on card base layer, then stamp off before the 2nd stamping in each circle. Finish the florette by stamping the solid circle center using Blueberry Bushel ink.
- Using Blueberry Bushel ink stamp small florette on card base layer, then stamp off before the 2nd stamping in each circle. Finish the florette by stamping the solid circle center using Blueberry Bushel ink
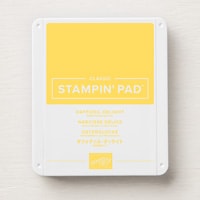
- Using Daffodil Delight ink stamp large florette on card base layer, then stamp off before the 2nd stamping in each circle. Finish the florette by stamping the solid circle center using Daffodil Delight ink.
- Using Daffodil Delight ink stamp small florette on card base layer, then stamp off before the 2nd stamping in each circle. Finish the florette by stamping the solid circle center using Daffodil Delight ink
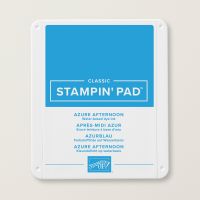
- Using Azure Afternoon ink, stamp twinkle stars filling in around the stamped florette's.
- Pleat the 3 florette die cut strips, pleating on the score lines. Adhere to each other to make a circle. Adhere die cut circle on the back and on the front of the pleated florette.
- Adhere pleated florette to center of card front.
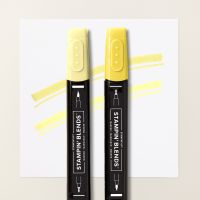
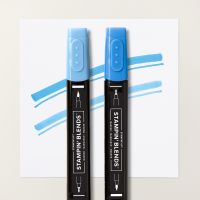
- Using Tuxedo Black ink, stamp cake image from Attention Shoppers bundle. Color using Lemon Lolly and Azure Afternoon Stampin' Blends. Die cut using corresponding silhouette die. Adhere to center of pleated florette using dimensionals.
- Using Blueberry Bushel ink, stamp sentiment. Fussy cut. Adhere to cake and florette using dimensionals. I stacked dimensionals in to to keep the sentiment level.
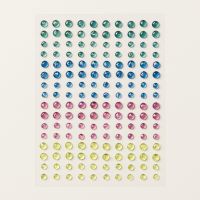
- Scatter gems on card front.
- Using Azure Afternoon an Daffodil Delight inks, stamp twinkle stars across top and bottom of message liner.
- Using Blueberry Bushel ink stamp sentiment on message liner. Adhere message liner to inner matte layer. Adhere to inner card base.
Now, let's check out all of the other projects in today's Blog Hop!
Thank you for visiting my blog today!
Hugs,
Teah










Love the background stamping! So pretty!
ReplyDeleteThanks Donna! I love this bundle!
DeleteLovely card Teah, so many details to enjoy x
ReplyDeleteThank you Mo! This is a super fun bundle!
DeleteBeautiful card, Teah! Love the colors. Thank you for participating in the hop!
ReplyDeleteThank you Kathi!
DeleteLove this card and your stamping in the inside!
ReplyDeleteThank you Lorraine! This one was fun to make!
DeleteSo Festive. Love it.
ReplyDeleteThank you so much!
DeleteAwesome birthday card
ReplyDeleteThank you Tracy!
DeleteWhat a cheerful card!
ReplyDeleteThank you Lisa!
Delete