 |
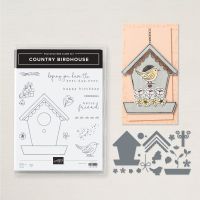
| Country Lace DSP, Country Birdhouse bundle |
 |
| Country Lace DSP, Country Birdhouse bundle |
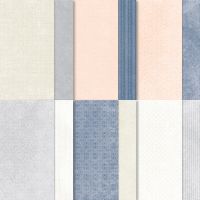
I just love this designer series paper..... and I didn't know it..... until I was preparing for this Ink & Inspiration Blog Hop. I pulled the three chambray looking prints for this card and I simply love how they look together! The list of all the supplies I used is listed at the bottom of this post.
This month the Ink & Inspiration Blog Hop has a sketch challenge theme. This card is my interpretation of this months sketch.
 |
| Ink & Inspiration, June 2024, sketch challenge |
Down below my tutorial instructions, you will find a list of live links to the blogs of everyone that joined in this month. The participants are a mix from our international stamping community. I encourage you to take a look at everyone's contribution. You are sure to be inspired!
 |
| Country Lace DSP, Country Birdhouse bundle |
Cutting Instructions: * special note - DSP #1 and DSP #2 look the same but are actually two different measurements. Be sure to note the different dimensions listed below.
- Card base: 5 1/2" x 8 1/2", scored at 4 1/4". This is a side fold card.
- Front matte layer: 5 1/4" x 4"
- Card front DSP #1 (upper right triangle): 3 3/4" x 3 7/8", then cut from upper left corner to lower right corner.
- Card front DSP #2 (lower left triangle): 3 7/8" x 3 7/8", then cut from upper left corner to lower right corner.
- Card front DSP #3 (bottom rectangle): 1" x 3 7/8"
- Sentiment: 3/8" x 2 3/8"
- Bird: scrap
- Flowers: scrap
- Leaves: scrap
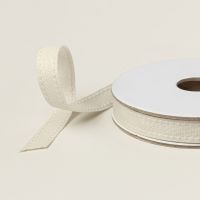
- Ribbon: 14"
- Inner message liner: 5 1/8" x 3 7/8"
- Inner DSP strip: 1/2" x 5 1/8"
- Burnish scoreline using bone folder.
- Adhere DSP #1 to upper right corner of matte layer, leaving a 1/16" matte border on top and right side.
- Adhere DSP #2 to left side of of matte layer, leaving a 1/16" on left side and between DSP #1 and DSP #2.
- Adhere DSP #3 to bottom of matte layer, leaving a 1/16" border on each side and bottom edges.
- Wrap 5" of ribbon around matted card front covering the gap between DSP #2 and DSP #3. I use tape to attach the ribbon on the back.
- Adhere matted card front to front of card base using dimensionals
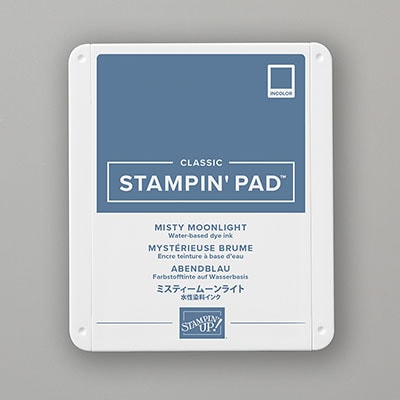
- Using Misty Moonlight ink, stamp sentiment. Adhere to card front using dimensionals
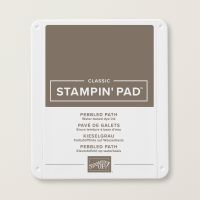
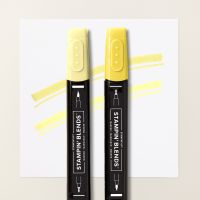
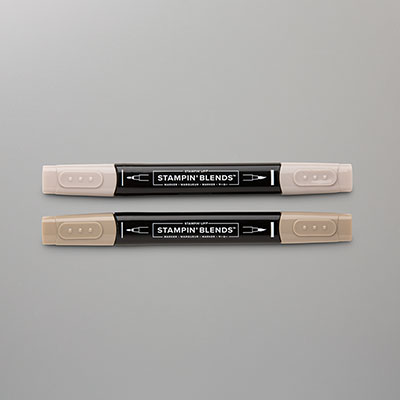
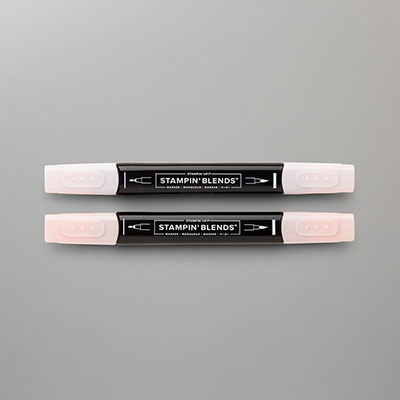
- Using Pebbled Path ink, stamp bird and flower. Using Lemon Lolly & Crumb Cake Stampin' Blends color bird. Using Petal Pink and Soft Sea Foam Stampin' Blends, color flowers. Die cut.
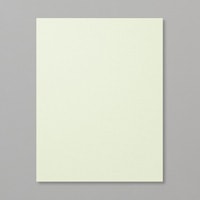
- Using Soft Sea Foam card stock, die cut 3 leaves. Adhere the leaves to the back of the flowers.
- Adhere bird and flowers to the card front using dimensionals.
- Using your paper snips, cut remain ribbon in half length wise, creating a more narrow ribbon for the bow. Adhere bow using mini glue dots.
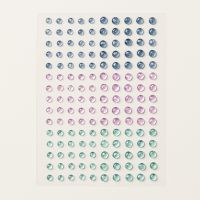
- Scatter gems on card front.
- Adhere DSP strip to inner message liner on left edge.
- Using Misty Moonlight ink, stamp sentiment.
- Adhere message liner to inner card base.
Now is the perfect time to visit everyone's blog listed here :)
Thank you for visiting my blog today!
Hugs,
Teah💖








Absolutely love your card Teah, so pretty x
ReplyDeleteOh, my! I love the blues and your little yellow bird. So beautiful.
ReplyDelete