 |
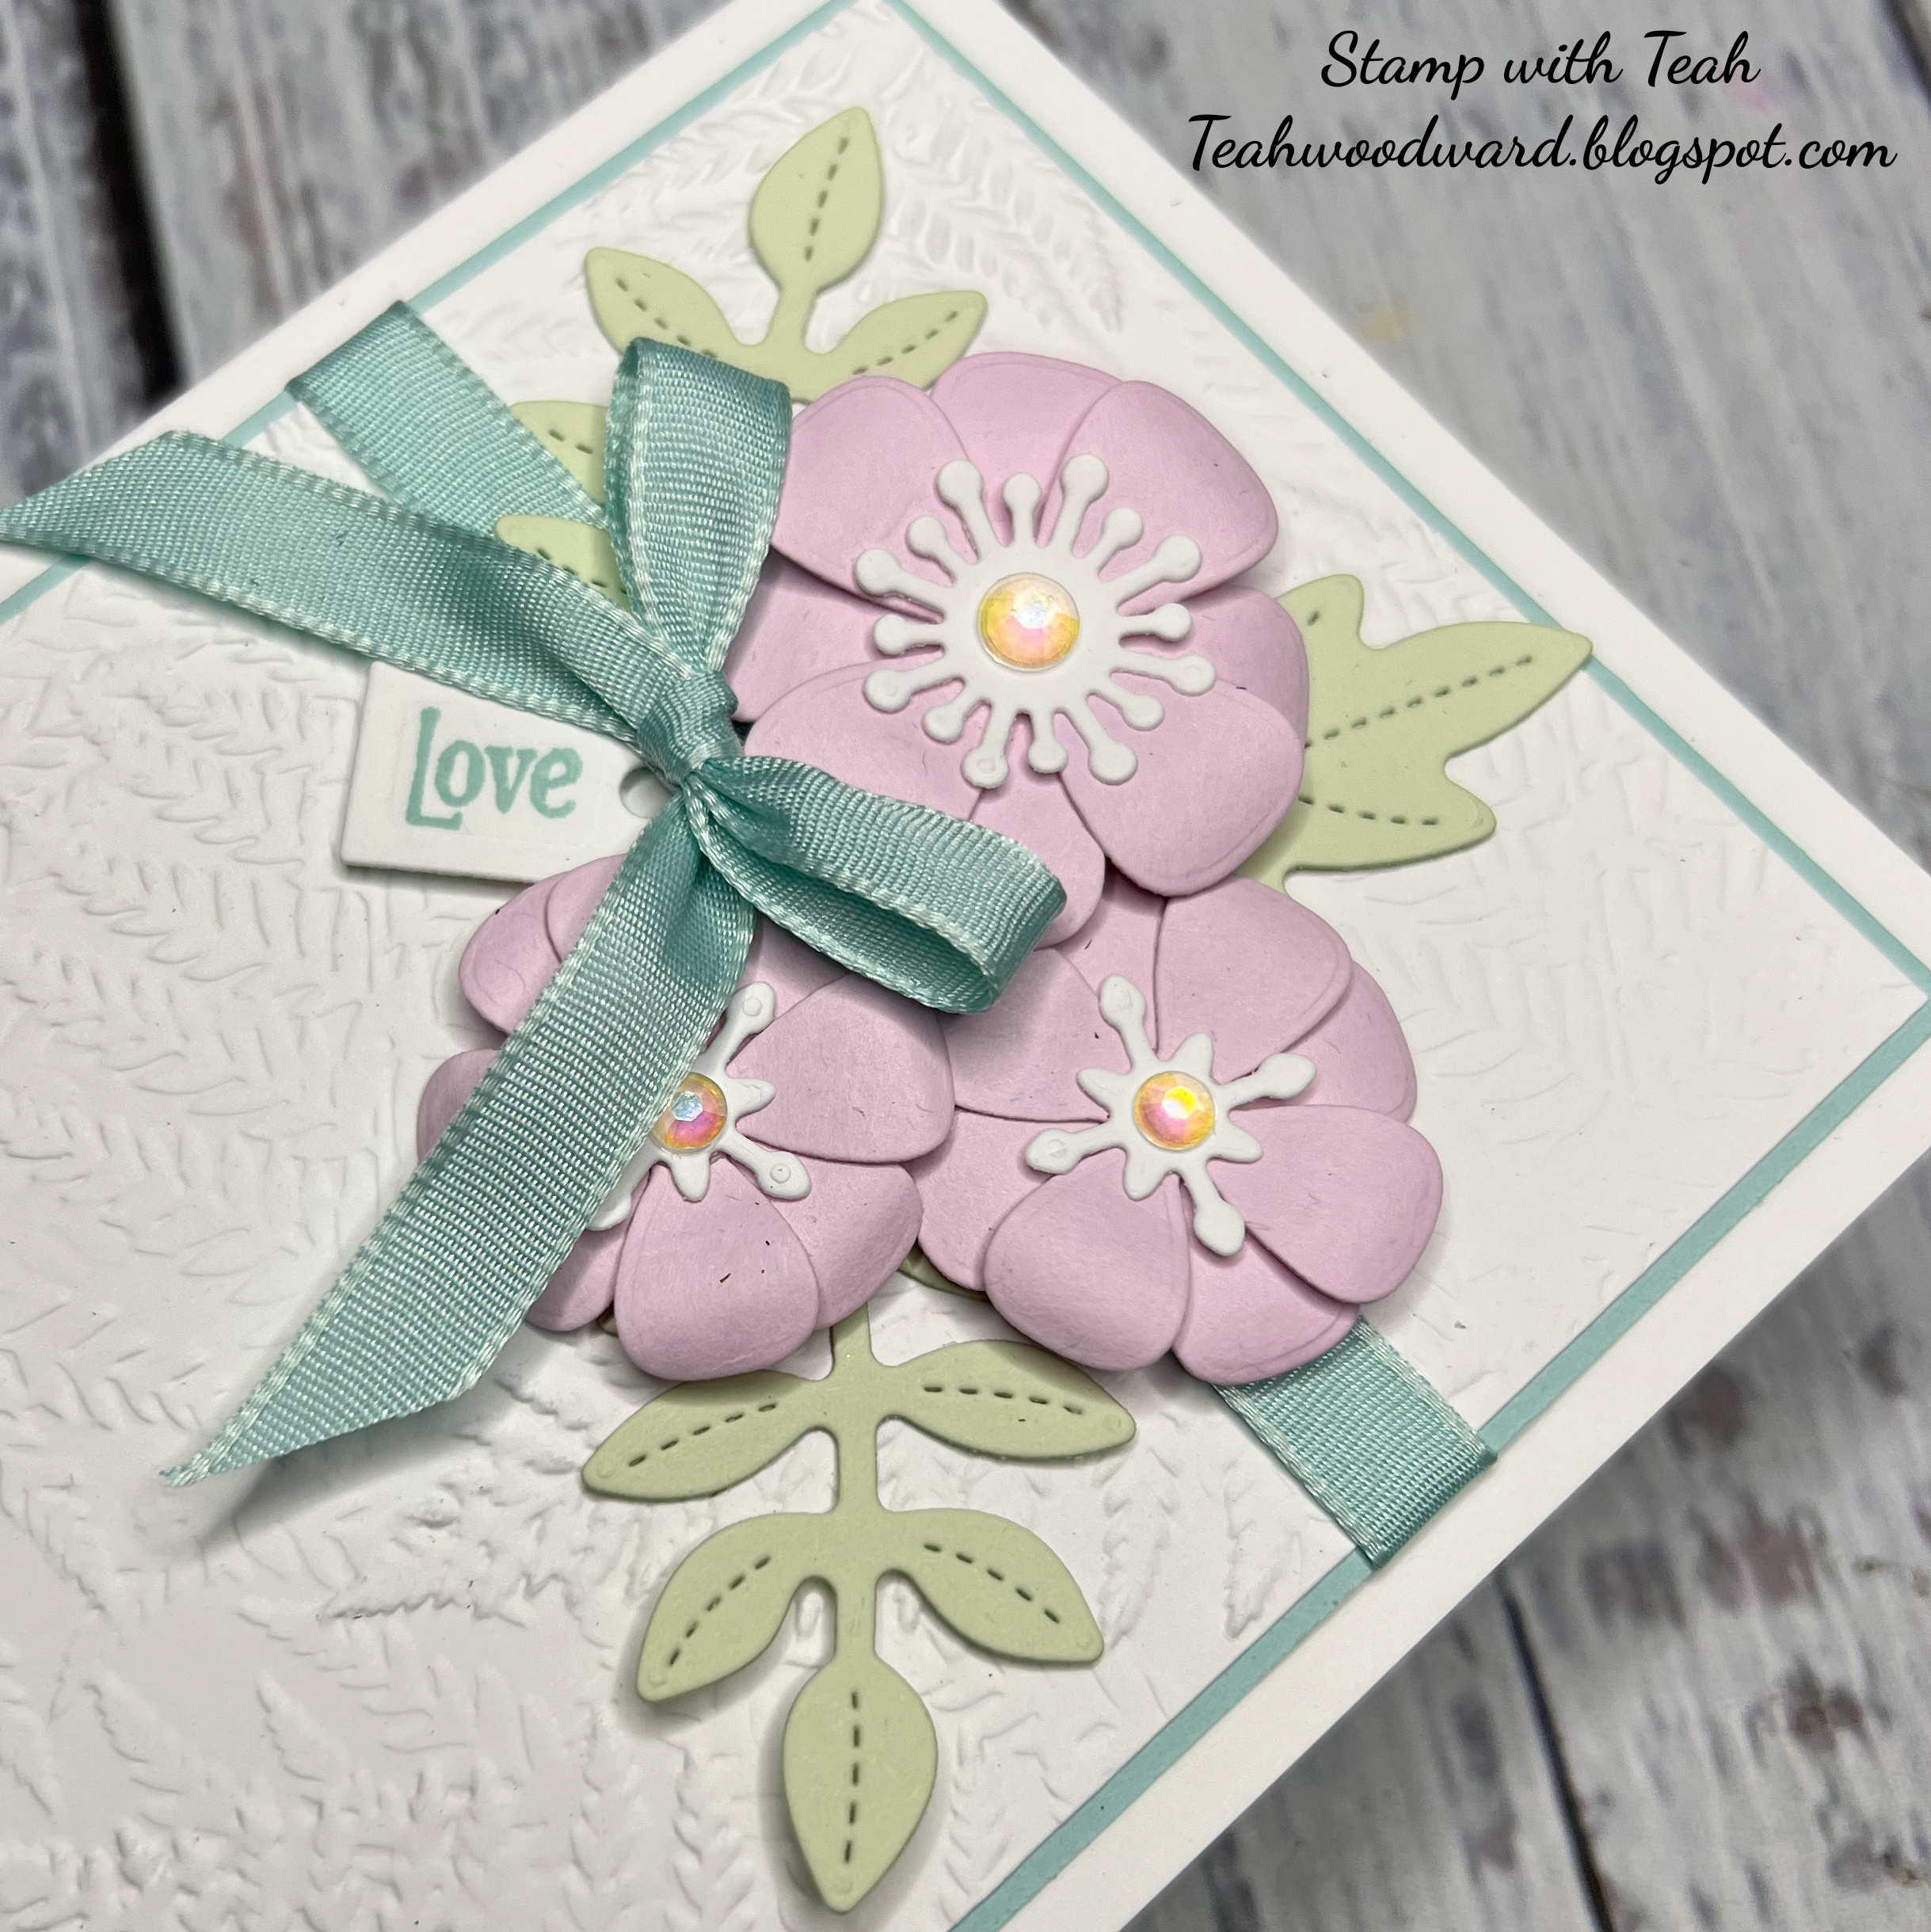
| Circle Sayings - cupcake card |
 |
| Happy Birthday to John!! |
 |
| Circle Sayings - cupcake card - detail view |
It's been busy at our house these past few days! John's birthday was Sunday, but the party was on Saturday. We had a great time with several friends. John didn't ask for much this year, but one request that he wasn't bending on, was his cupcake. He loves my Black Forest Cupcakes, so that is what I made. They are a chocolate cupcake, then after baking I hollow out the center. Fill them up with cherry pie filling and top them off with homemade cream cheese frosting. The cupcake that John is holding, is collapsing under the weight of the frosting..... and he couldn't be any happier! HA HA!
 |
| Crafty Collaborations Blog Hop |
Today I am participating in the Crafty Collaborations Birthday Blog Hop and I thought that the card I made for John would be the perfect card for this hop! The Circle Sayings bundle has a cupcake and I knew I wanted that front and center on Johns card this year..... then I used the Painted Texture 3D Embossing Folder because I think it looks like frosting. Perfect! Right?!
Be sure to check out the below list of live links to all the participants that contributed to todays blog hop.
Cutting Instructions:
- Card base - Early Espresso: 4 1/4" x 11", scored at 5 1/2". This is a side fold card
- Front matte layer - Poppy Parade: 3 3/4" x 5"
- Card front - Very Vanilla: 3 5/8" x 4 7/8" - Emboss this layer
- Focal point matte layer - Poppy Parade: Die cut 2nd largest circle from Stylish Shapes dies
- Focal point - Very Vanilla: Punch 2 3/8" circle
- Scrap of Basic White to stamp and fussy cut 1 cupcake
- Inner matte layer - Poppy Parade: 3 3/4" x 5"
- Inner message liner - Very Vanilla: 3 5/8" x 4 7/8"
Assembly Instructions:
- Emboss Very Vanilla card front layer. Adhere to Poppy Parade matte layer. Wrap burlap ribbon around mid section of card, taping down ends on back. Adhere to front of card base using dimensionals.
- Using Tuxedo Black ink, stamp "Celebrate" ring on Very Vanilla and punch out. Adhere to Poppy Parade matte die cut circle.
- Using Tuxedo Black ink, stamp cupcake on Basic White. Color in using Poppy Parade for the cupcake paper, Natural Tones Deep for the chocolate cake and Ivory for the frosting. Fussy cut. Adhere to center of "Celebrate" ring using dimensionals. Adhere this focal point to center off card front using dimensionals.
- Tie double bow using linen thread. Adhere using mini glue dot.
- Scatter Rustic Metallic Adhesive Backed Dots on card front.
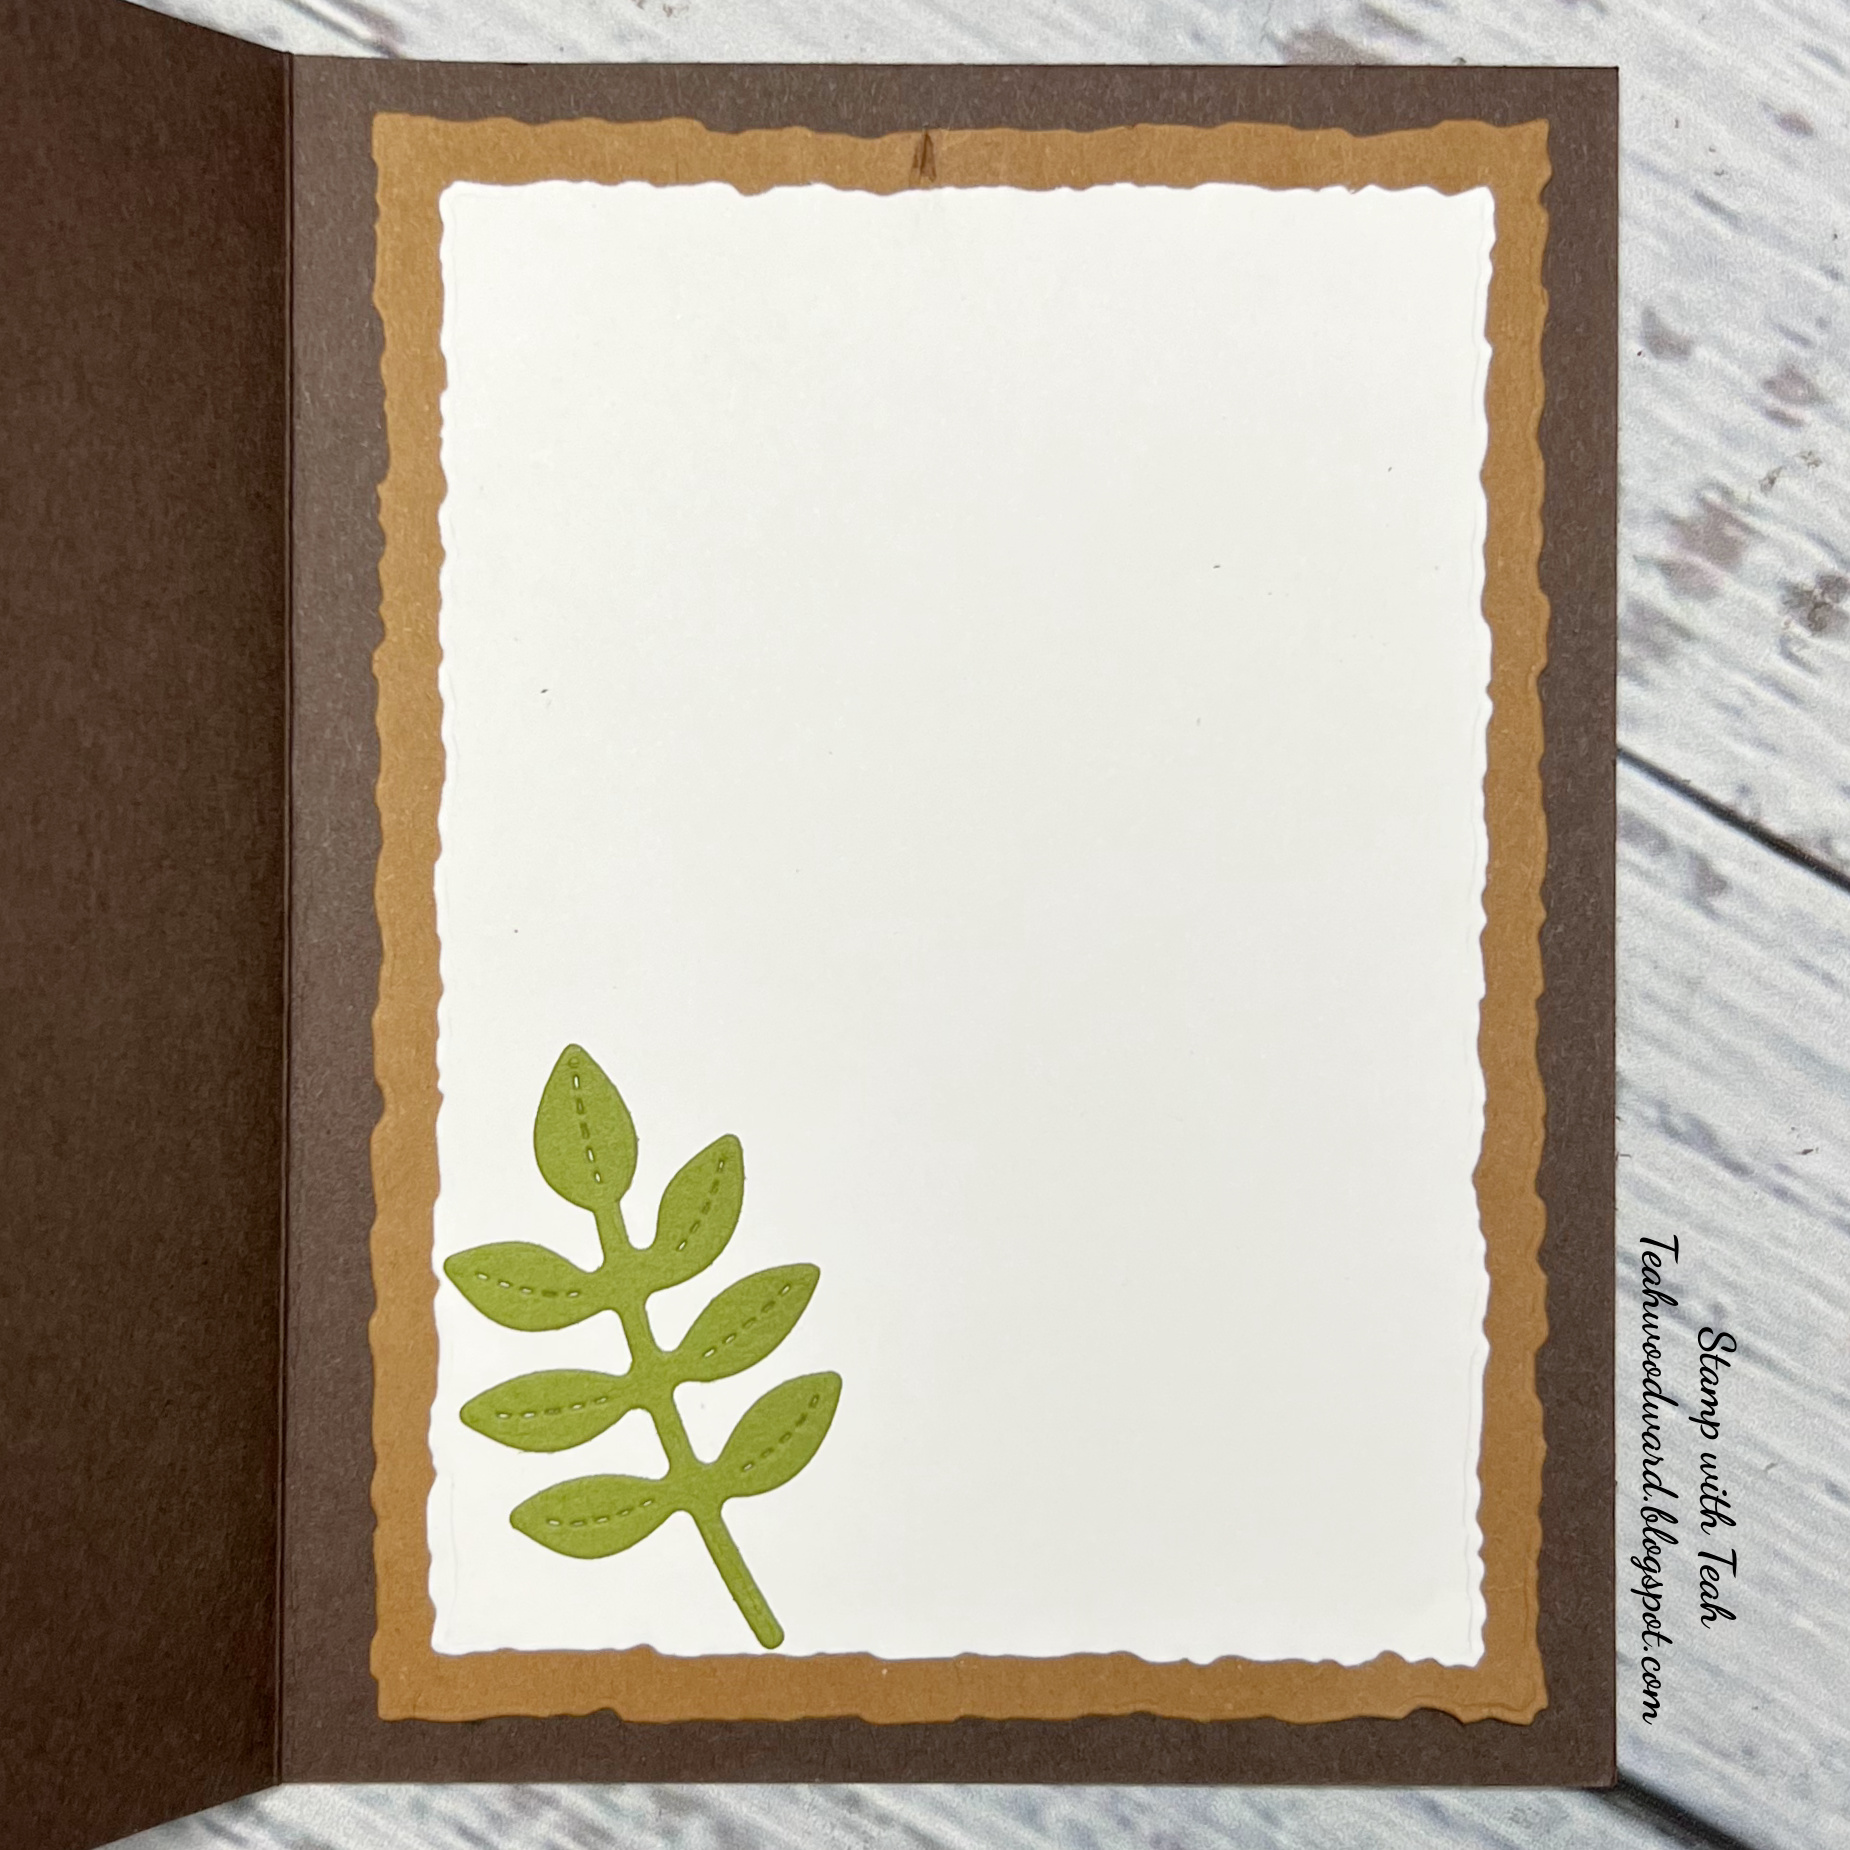
- Stamp image on inner message liner. Adhere to inner matte layer. Adhere to inner card base.
Blog Hop Links
Thank you for visiting my blog today!
Hugs,
Teah
")


")


 Grosgrain Ribbon")


")


 Gingham Ribbon")


