 |
| Quilt block card |
I'm back!!! After 3 months of recovering from double spinal fusion surgery, I am finally able to work in my craft room again! I am so very happy to be creating, sharing and inspiring!
My sister Carrie loves quilting and I wanted to make a card that was specifically personal to her. This card is 5" x 7". Sometimes, you just need a bigger card and this was one of those occasions for me. Carrie spent two critical weeks helping to care for me after major surgery so I had lots to write in her card. This is my first quilt block card, and I have to say that I really enjoyed making it. I see myself making more in the future.
Product List
Cutting Instructions:
- Card Base- Basic White Thick: 10" x 7", scored at 5". This is a side fold card.
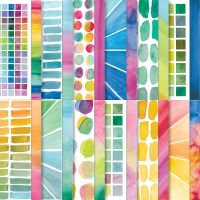
- DSP card base front strip: 2" x 6". See Assembly Instructions for further detail.
- Focal point matte layer- Shaded Spruce: 4" x 4"
- Base of focal point - Basic White: 3 3/4" x 3 3/4"
- 4 DSP strips: 5/8” x 6” strips
- Corner squares of quilt block - Basic White: 7/8" x 7/8" (4 pcs)
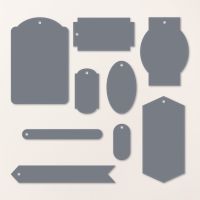
- Sentiment label - Basic White: Die cut
- Sentiment label matte - Shaded Spruce: Die cut
- Linen Thread: 19"
- Inner matte layer - Shaded Spruce: 4 1/2" x 6 1/2"
- Inner message liner - Basic White: 4" x 6"
Assembly Instructions:
- Using Bone folder, burnish score line
- Using score tool, score Basic White 3/ 3/4" x 3 3/4" from corner to corner creating an X.
- Cut DSP strips from 5/8" x 6" to 5/8" x 3". Adhere 1 of each color on right side of the X score line, matching up square at the center. Adhere remaining color strips butted up to intersecting color so that it looks like it was woven. Trim excess strip off of 3 3/4" x 3 3/4". Save these trimmings.
- Adhere 7/8" x 7/8" to each corner to create the illusion of mitered corners.
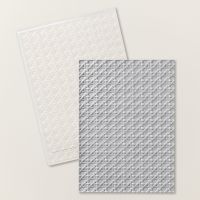
- Emboss all layers through with embossing folder.
- Adhere to matte layer.
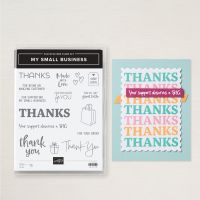
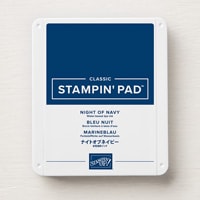
- Using Night of Navy ink, stamp sentiment on label. Using Paper Snips cut sentiment label matte layer in half horizontally. Adhere to back of Sentiment Label.
- Cut 2" x 6" DSP strip into 3 pcs: 2" x 2". Adhere 2" x 2" at center vertically, aligning the 2" wide top edge of the DSP with the top of the card base front. Use a pencil to mark the bottom placement of the quilt square. Adhere the next 2" x 2" DSP strip to underlap the quilt block placement. Adhere the last 2" x 2" DSP strip aligned with the bottom of the card base front.
- Using dimensionals, adhere the Quilt square so that the top and sides are 1/2" from edge of card base. Using dimensionals, adhere matted sentiment label below quilt square and covering the space between the 2" x 2" DSP strips.
- Adhere linen thread bow using mini glue dot.
- Using trimmings from the quilt block, adhere 2 in upper left corner and 2 in lower left corner of inner message liner. Trim off any excess. Adhere to inner matte layer. Adhere to inner card base.
I hope this card inspired you :)
Hugs,
Teah





No comments:
Post a Comment