 |
| Gallery Blooms and Beautiful Motifs |
Today I participated in the Crafty Collaborations weekly Monochromatic Insta Hop on Instagram. You can see the original post with all the other contributors links HERE .
I am happy to share a free tutorial so you can make this card too! You will find those instructions after the inner view photo.
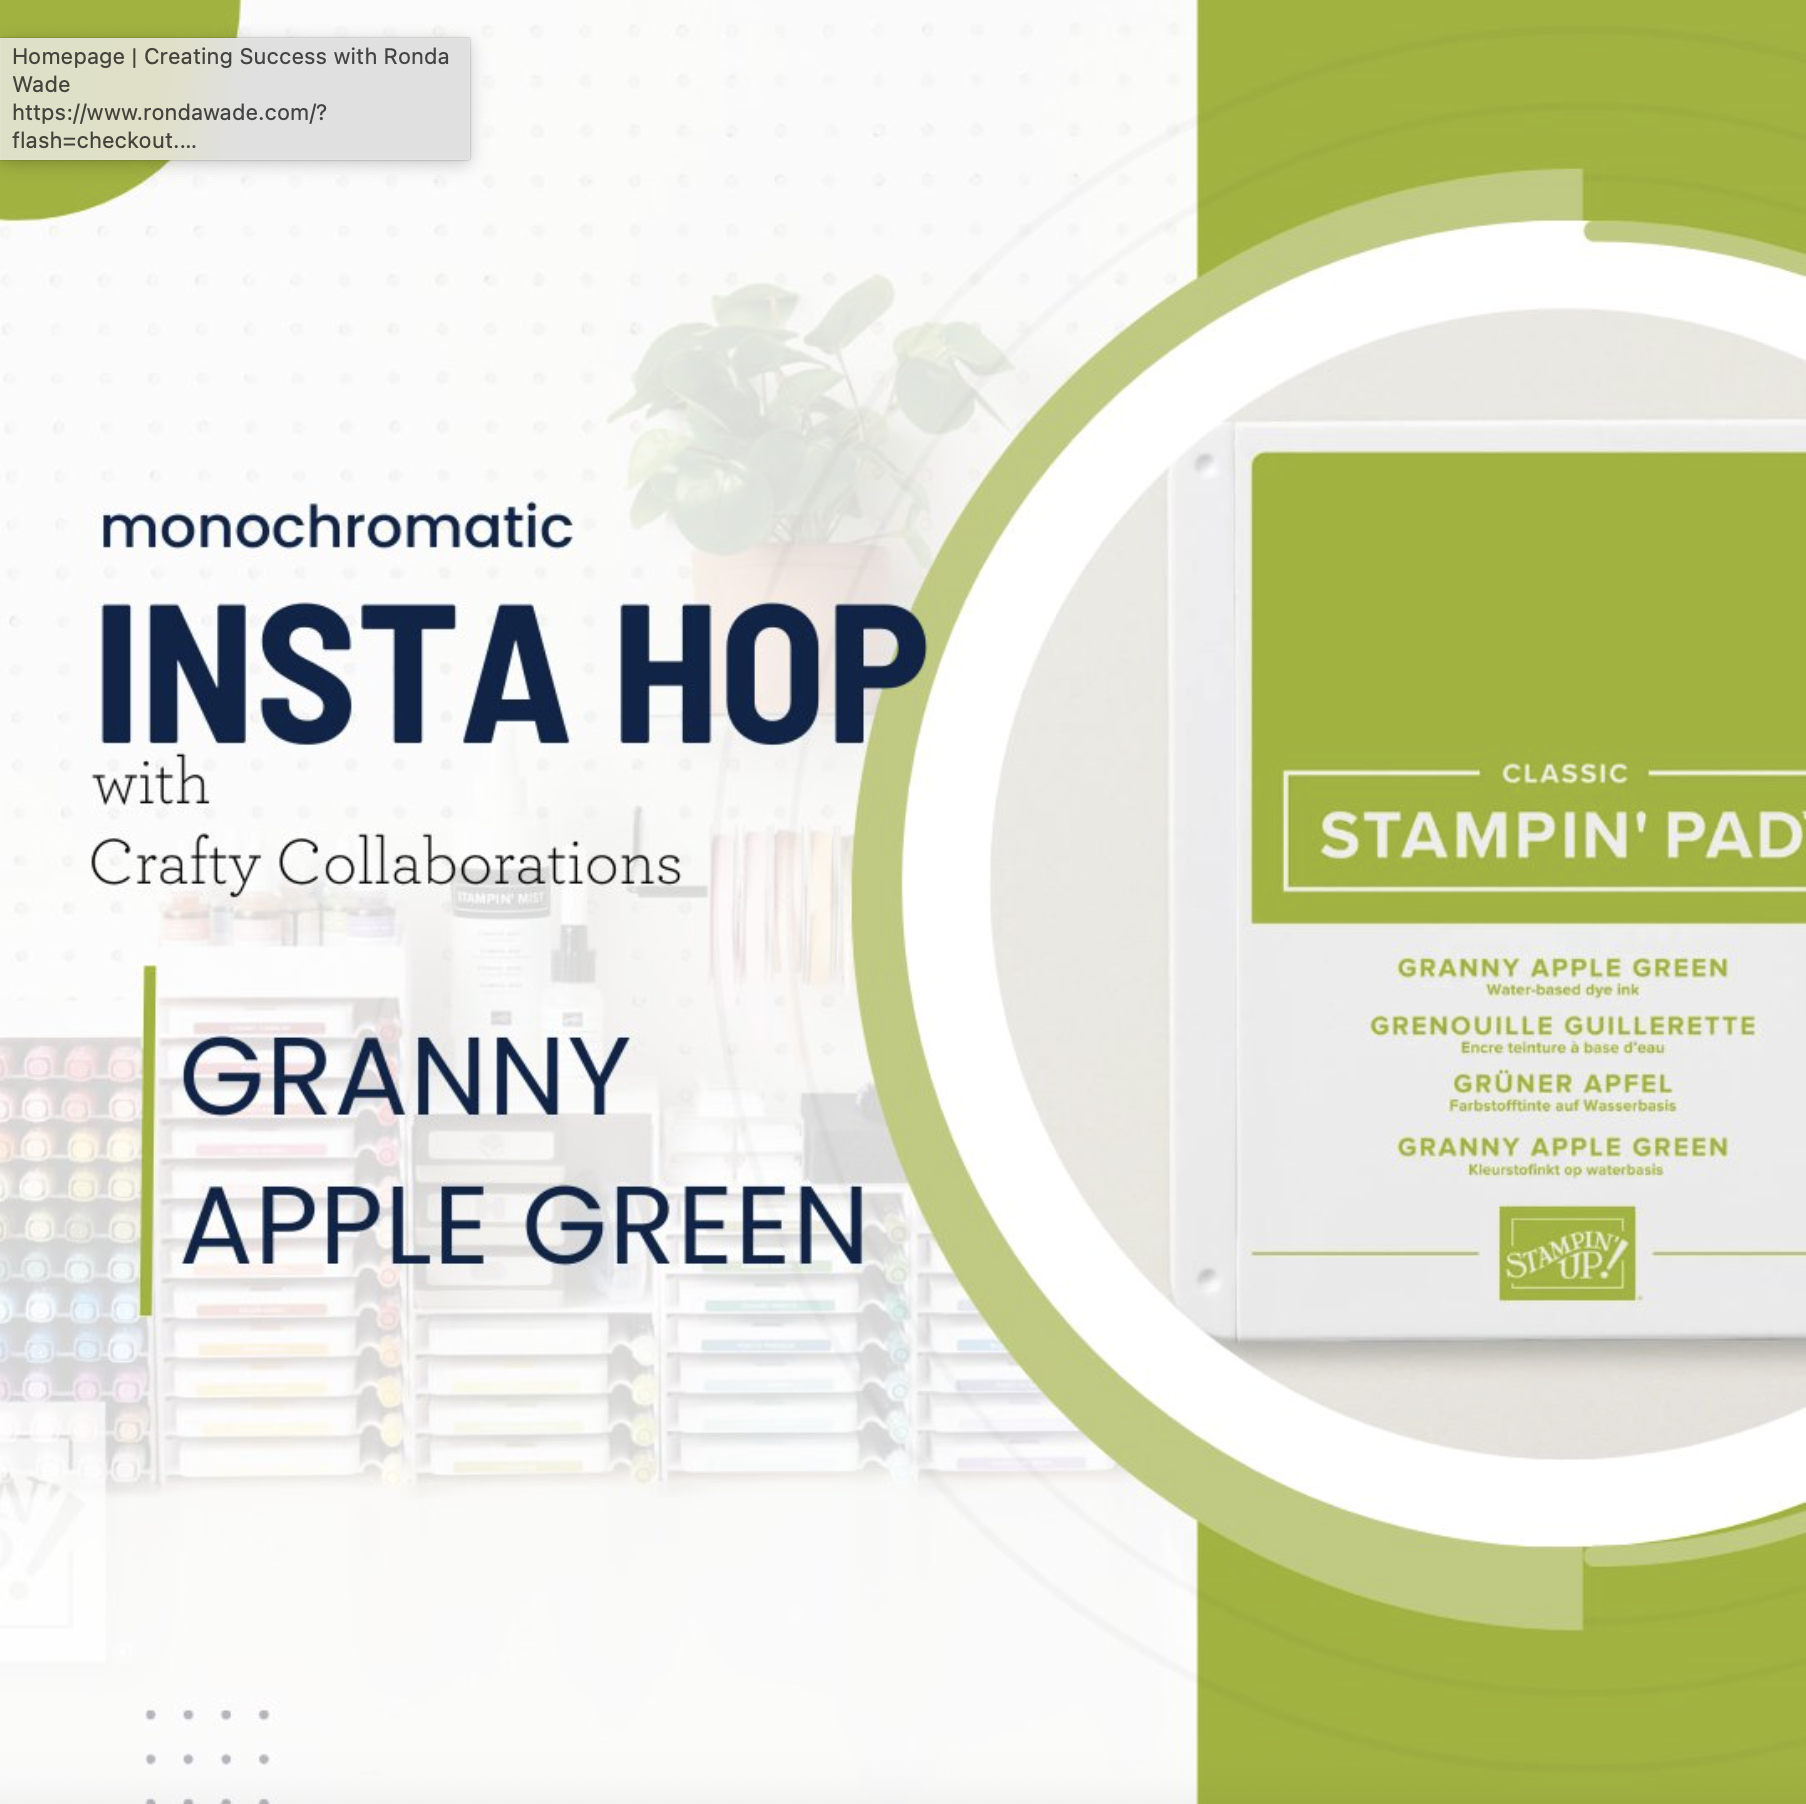 |
| The Monochromatic color week is Granny Apple Green |
I love how vibrant and happy Granny Apple Green is! I literally feel more happy energy when I work with this color. To create depth of color in my flowers I used the Stampin' Blends combo pack of both light and dark in Granny Apply Green.
 |
| Detail view of Gallery Blooms and Beautiful Motifs |
The Gallery Blooms and Beautiful Motifs will be released in the new Stampin' Up! 2025-2026 Annual Catalog on May 6th. The Gallery Blooms bundle is #165213 and the Beautiful Motifs bundle is #165206. The rest of the product #'s and links are at the end of this post.
 |
| Gallery Blooms bundle |
Cutting instructions:
- Card base - Basic White Thick: 5 1/2" x 8 1/2", scored at 4 1/4". This is a side fold card.
- Front matte layer - Granny Apple Green: 3 7/8" x 5 1/8"
- Embossed card front layer - Basic White: 3 3/4" x 5"
- Frame layer - Basic White Thick: 3 pcs of 4 1/4" x 5 1/2" . The die for the frame actually cuts out 2 frames at the same time, 1 large and 1 small. I used 3 layers of the small frame, and set aside the large frames for another project at a later time.
- Flowers - Basic White: 2 pcs 2 1/2" x 4 1/2".
- Leaves - Granny Apple Green: Scrap, die cut 5 pcs
- Sentiment label - Basic Black: 5/8" x 2"
- Inner matte layer - Granny Apple Green: 3 7/8" x 5 1/8"
- Inner message liner - Basic White: 3 3/4" x 5"
- Inner flowers - Basic White: 2 1/2" x 3"
- Ribbon: 10"
- Using bone folder, burnish fold line well.
- Using Exposed Brick embossing folder, emboss card front layer. Using Granny Apple Green Stampin' Blends, flick some spatters on the embossed card front layer. Adhere to front matte layer. Adhere to front of card base.
- Adhere all three layers of small frame to each other to create a thicker frame. Adhere to card front using dimensionals.
- Using Tuxedo Black ink, stamp 2 large flower stems and 1 small flower cluster. Using Granny Apple Stampin' Blends, color flowers predominately with the light blend. Use the dark blend for the leaves and shadows. Use dark Daffodil Delight Stampin' Blend for flower centers. Die cut silhouettes. Adhere to the two larger flower stems to the card front. I tucked the ends under the bottom of the frame, then adhered using dimensionals.
- Using mini glue dots, tuck in leaves around the floral stems.
- Using Versamark ink, stamp sentiment on sentiment label. Add White embossing powder, and set with heat tool. Banner cut both ends of the label. Adhere to focal point using dimensionals.
- Add bow using mini glue dot to base of stems.
- Using dark Granny Apple Green Stampin' Blend, color rhinestones. Adhere around focal point.
- Adhere inner message liner to inner matte layer. Adhere to inner card base. Adhere die cut small floral cluster in lower left corner of message liner.
Hope you have creating your own masterpiece!
Thank you for visiting my blog today!
Hugs,
Teah
![Exposed Brick 3 D Embossing Folder [ 161600 ]](https://assets1.tamsnetwork.com/images/EC042017NF/161600s.jpg "Exposed Brick 3 D Embossing Folder [ 161600 ]")
![Basic White 8 1/2" X 11" Thick Cardstock [ 159229 ]](https://assets1.tamsnetwork.com/images/EC042017NF/159229s.jpg "Basic White 8 1/2\" X 11\" Thick Cardstock [ 159229 ]")
![Granny Apple Green 8-1/2" X 11" Cardstock [ 146990 ]](https://assets1.tamsnetwork.com/images/EC042017NF/146990s.jpg "Granny Apple Green 8-1/2\" X 11\" Cardstock [ 146990 ]")
![Basic White 8 1/2" X 11" Cardstock [ 166780 ]](https://assets1.tamsnetwork.com/images/EC042017NF/166780s.jpg "Basic White 8 1/2\" X 11\" Cardstock [ 166780 ]")
![Basic Black 8-1/2" X 11" Cardstock [ 121045 ]](https://assets1.tamsnetwork.com/images/EC042017NF/121045s.jpg "Basic Black 8-1/2\" X 11\" Cardstock [ 121045 ]")
![Tuxedo Black Memento Ink Pad [ 132708 ]](https://assets1.tamsnetwork.com/images/EC042017NF/132708s.jpg "Tuxedo Black Memento Ink Pad [ 132708 ]")
![Granny Apple Green Stampin' Blends Combo Pack [ 154885 ]](https://assets1.tamsnetwork.com/images/EC042017NF/154885s.jpg "Granny Apple Green Stampin' Blends Combo Pack [ 154885 ]")
![Daffodil Delight Stampin' Blends Combo Pack [ 154883 ]](https://assets1.tamsnetwork.com/images/EC042017NF/154883s.jpg "Daffodil Delight Stampin' Blends Combo Pack [ 154883 ]")
![Versamark Pad [ 102283 ]](https://assets1.tamsnetwork.com/images/EC042017NF/102283s.jpg "Versamark Pad [ 102283 ]")
![Basics Wow! Embossing Powder [ 165679 ]](https://assets1.tamsnetwork.com/images/EC042017NF/165679s.jpg "Basics Wow! Embossing Powder [ 165679 ]")
![Rhinestone Basic Jewels [ 144220 ]](https://assets1.tamsnetwork.com/images/EC042017NF/144220s.jpg "Rhinestone Basic Jewels [ 144220 ]")
![Black & Very Vanilla 3/8" (1 Cm) Large Check Ribbon [ 161982 ]](https://assets1.tamsnetwork.com/images/EC042017NF/161982s.jpg "Black & Very Vanilla 3/8\" (1 Cm) Large Check Ribbon [ 161982 ]")
![Multipurpose Liquid Glue [ 110755 ]](https://assets1.tamsnetwork.com/images/EC042017NF/110755s.jpg "Multipurpose Liquid Glue [ 110755 ]")
![Stampin' Dimensionals [ 104430 ]](https://assets1.tamsnetwork.com/images/EC042017NF/104430s.jpg "Stampin' Dimensionals [ 104430 ]")
![Mini Glue Dots [ 103683 ]](https://assets1.tamsnetwork.com/images/EC042017NF/103683s.jpg "Mini Glue Dots [ 103683 ]")
![Bone Folder [ 102300 ]](https://assets1.tamsnetwork.com/images/EC042017NF/102300s.jpg "Bone Folder [ 102300 ]")
![Paper Snips [ 103579 ]](https://assets1.tamsnetwork.com/images/EC042017NF/103579s.jpg "Paper Snips [ 103579 ]")
![Take Your Pick [ 144107 ]](https://assets1.tamsnetwork.com/images/EC042017NF/144107s.jpg "Take Your Pick [ 144107 ]")
![Simply Shammy [ 147042 ]](https://assets1.tamsnetwork.com/images/EC042017NF/147042s.jpg "Simply Shammy [ 147042 ]")
![Paper Trimmer [ 152392 ]](https://assets1.tamsnetwork.com/images/EC042017NF/152392s.jpg "Paper Trimmer [ 152392 ]")
![Stampin' Cut & Emboss Machine [ 149653 ]](https://assets1.tamsnetwork.com/images/EC042017NF/149653s.jpg "Stampin' Cut & Emboss Machine [ 149653 ]")


No comments:
Post a Comment