 |
| Decorative Trees on Painted Trees embossing |
 |
| Decorative Trees Detail View |
 |
| Decorative Trees Inner View |
I think the Decorative Trees bundle is my favorite from the new mini catalog! I had a blast making this easy card! I hope you will give this a try too!
Cutting Instructions:
- Card base-Basic White Thick: 4 1/4" x 11". Score at 5 1/2". This is a top fold card.
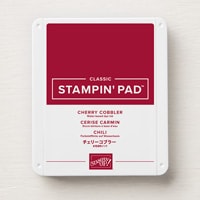
- Front matte layer - Cherry Cobbler: 3 7/8" x 5 1/8"
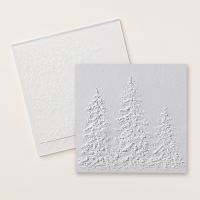
- Card front layer - Basic White: 3 3/4" x 5". This layer is embossed with the Painted Trees embossing folder.
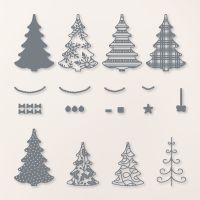
- Trees: Die cut 3 tree silhouettes, 1 Basic White and 2 Cherry Cobbler.
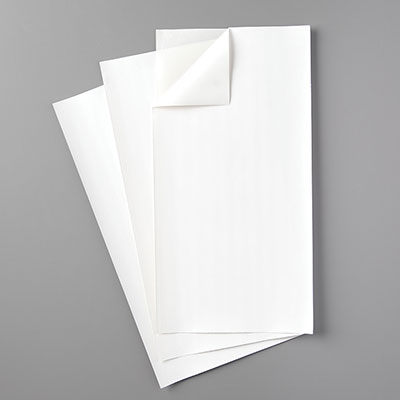
- Plaid tree - Cherry Cobbler: Apply Adhesive sheet to the back of the cardstock prior to detail die cutting 1 pc.
- Short Swirly tree - Basic White: Apply Adhesive sheet to the back of the cardstock prior to detail die cutting 1 pc.
- Tall tree with the softly curled branches - Basic White: Apply Adhesive sheet to the back of the cardstock prior to detail die cutting 1 pc.
- Sentiment label - Basic White: die cut 1 pc.
- Inner matte layer - Cherry Cobbler: 3 7/8" x 5 1/8"
- Inner message liner layer - Basic White: 3 3/4" x 5".
Assembly Instructions:
- Using bone folder, crease fold line well.
- Adhere embossed layer to front matte layer. Adhere to front of card base.
- Peel backer off of Plaid detail die cut and adhere to Basic White tree silhouette.
- Peel backer off of Swirly detail die cut and adhere to Cherry Cobbler tree silhouette. The detail die cut is shorter than the tree silhouette, so line up starting at top of tree, Hand trim off excess tree below the detail die cut.
- Peel backer off of the Softly curled branches detail die cut and adhere to Cherry Cobbler tree silhouette.
- Adhere trees to card front layer using dimensionals to create different heights so that they can overlap.
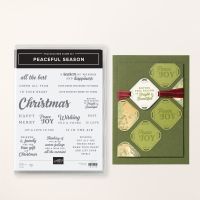
- Using Cherry Cobbler ink, stamp sentiment on label. Adhere using dimensionals.
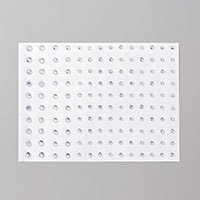
- Scatter rhinestones across card front.
- Using Cherry Cobbler ink, stamp sentiment on inner message liner. Stamp images in corners if desired.
- Adhere inner message liner to inner matte layer. Adhere to inner card base.
Thanks for visiting my blog today!
Hugs,
Teah







No comments:
Post a Comment