Tuesday, July 23, 2024

Sophisticated Sled - Night of Navy

Sophisticated Sled

July 19 Monochromatic challenge

I created this card for the Night of Navy Insta Hop.  I just love this card so much that I want to share it again!

Sophisticated Sled detail view

Sophisticated Sled inner view

To see my original post and visit all of the contributors Instagram pages, start here: https://www.instagram.com/p/C9m8dEXJo5Q/?img_index=1

Cutting instructions:
  • Card base - Basic White: 5 1/2" x 8 1/2", scored at 4 1/4".  This is a side fold card.
  • Front matte layer- Night of Navy: 5 1/8" x 3 7/8"
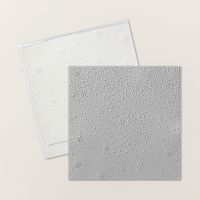
  • Card front layer - Basic White: 5" x 3 3/4".  Emboss this layer with Snowflake Sky.
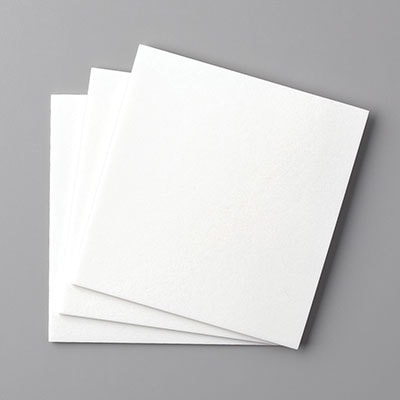
  • Sled rails - Smoky Slate: 4" x 2" add Adhesive Foam Sheet to back of cardstock prior to die cutting.
  • Wood grain sled slats - Night of Navy: 3" x 2" cuts out slats and control bar.
  • Boots - Basic White: scrap, die cut x 2
  • Shoe laces - Night of Navy: scrap, die cut x 2
  • Blades - Smoky Slate: scrap, die cut x 2
  • Bough - Night of Navy: scrap, die cut 1
  • Bough - Basic White: scrap, die cut 1
  • Sentiment label - Basic White: strip cut 1/2" x 1 3/4"
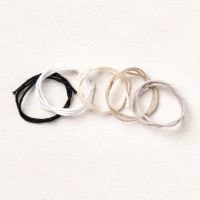
  • Bakers twine - Basic White: 5"
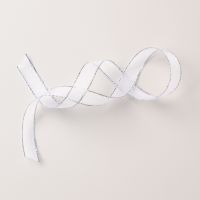
  • Ribbon: 10"
  • Inner matte layer - Night of Navy: 5 1/8" x 3 7/8"
  • Inner message layer - Basic White: 5" x 3 3/4".  
Assembly instructions:
  • Using bone folder, burnish score line.
  • Adhere embossed card front to front matte layer.  Adhere to front of card base using dimensionals.
  • Adhere wood grain slats and control bar to sled rails.
  • Add laces to slit in boots, using a spot of adhesive on the back of the boot to hold the laces in place.
  • Adhere skate blades to base of boots.
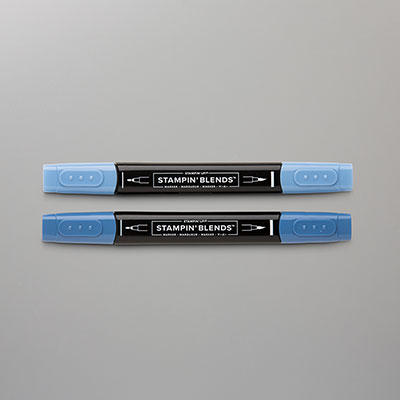
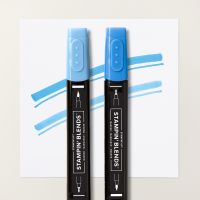
  • Using Night of Navy Stampin' Blends, color White Bakers Twine.  Adhere loops of colored bakers twine from ice skates, at 2 different lengths, to hang from under the boughs at head of sled.  
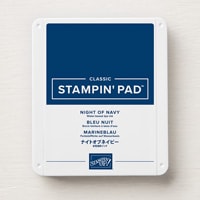
  • Using Night of Navy ink and blending brush, add ink to a scrap of Basic White.  Die cut 1 bough.
  • Adhere the Night of Navy bough and the lighter colored bough to head of sled using mini glue dots.  
  • Adhere bow to center of boughs.  
  • Adhere sled to card front layer.  
  • Using Night of Navy ink, stamp sentiment on sentiment label.  Banner cut ends.  Adhere to top of sled using dimensionals.
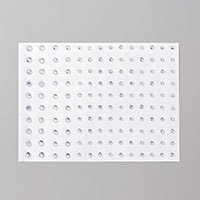
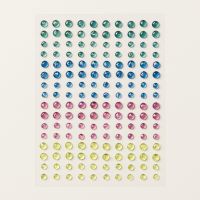
  • Scatter gems on card front.
  • Using Night of Navy ink, stamp sentiment on inner message liner.  Stamp snowflakes along top and bottom of message liner.  Adhere message liner to inner matte layer.  Adhere to inner card base.
Thank you for visiting my blog today!
Hugs,
Teah
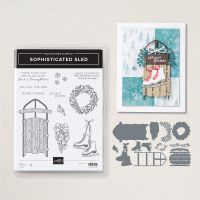

Product List

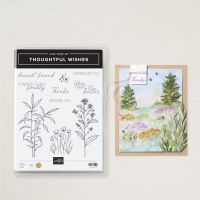
Thoughtful Journey - Dearest Friend


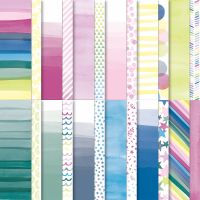
Thoughtful Journey DSP


Thoughtful Journey - Detail view
                               
Inner view

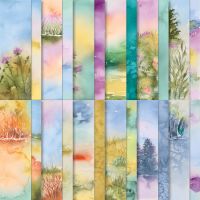
Today's card was created for the Crafty Collaborations International Day of Friendship Blog Hop.  I had a specific friend in mind when I created this card.  She would love this watercolor looking design.

Below my tutorial you will find a list of blogs that also participated in today's blog hop.  Be sure to click on each of the live links to see their projects!

Cutting instructions:
  • Card base: 5 1/2" x 8 1/2", scored at 4 1/4".  This is a side fold card.
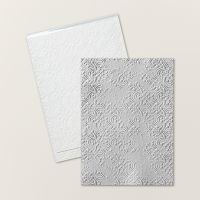
  • Embossed layer: 5" x 3 3/4" - emboss using Distressed Tile embossing folder.
  • Front matte layer: 4 1/8" x 2 7/8"
  • DSP card front layer: 4" x 2 3/4"
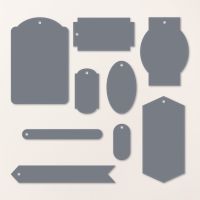
  • Sentiment: scrap to die cut sentiment label
  • Inner matte layer: 5" x 3 3/4"
  • Inner message liner: 4 7/8" x 3 5/8"
Assembly instructions:
  • Using bone folder, burnish score line.
  • Adhere embossed layer to card front.
  • Adhere DSP layer to front matte layer.  Adhere to embossed layer using dimensionals.
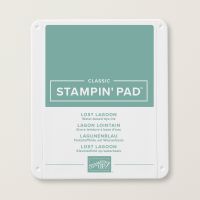
  • Using Lost Lagoon ink, stamp sentiment on die cut sentiment label.  Adhere to card front using dimensionals.
  • Using Lost Lagoon ink, stamp sentiment on inner message liner.  Using Petunia Pop ink, stamp image on inner message liner.  Adhere to inner matte layer.  Adhere to inner card base.
Let's see everyone else's projects!

Thank you for visiting my blog today.
Hugs,
Teah

Product List


Wednesday, July 17, 2024

Round We Go - Florette Birthday Card

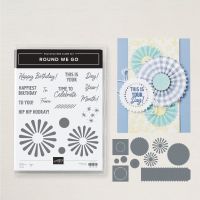
Round We Go


Have you ever made a card that you were just Gah-Gah over??  This card is that for me.  I just love how it turned out!  I see a couple of small places that I could have made better, but the person that I was making the card for kept coming into the room...... LOL!!  

I made todays card for John's birthday, and am thrilled to share it with you in this Birthday Wishes Blog Hop.  I hope you enjoy this free tutorial.  The list of products used are listed at the end of this post.  Below my tutorial, you will find a list of live links to the blog posts from everyone that participated in this Blog Hop.  Be sure to visit everyone's blog for maximum inspiration for your next card creation.

Round We Go -  Detailed view


Round We Go - inner view

Cutting Instructions:
  • Card base - Basic White: 5 1/2" x 8 1/2", scored at 4 1/4".  This is a side fold card.
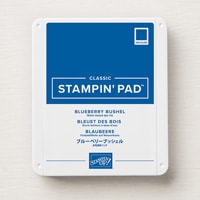
  • Front matte layer - Blueberry Bushel: 5 1/4' x 4"
  • Card front layer - Basic White: 5 1/8" x 3 7/8"
  • Florette - DSP: Die cut 3x using Round We Go Florette die
  • Florette circle - Blueberry Bushel: Die cut 2 using large circles
  • Birthday Cake - Basic White: scrap
  • Sentiment - Basic White: scrap
  • Inner matte layer: 5 1/4" x 4"
  • Inner message liner: 5" x 3 3/4"
Assembly Instructions: 
  • Using the bone folder, burnish the scoreline in the card base.
  • Using Blueberry Bushel ink stamp large florette on card base layer, then stamp off before the 2nd stamping in each circle.  Finish the florette by stamping the solid circle center using Blueberry  Bushel ink.  
  • Using Blueberry Bushel ink stamp small florette on card base layer, then stamp off before the 2nd stamping in each circle.  Finish the florette by stamping the solid circle center using Blueberry  Bushel ink  
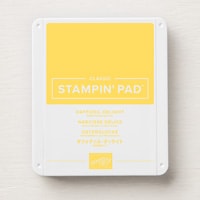
  • Using Daffodil Delight ink stamp large florette on card base layer, then stamp off before the 2nd stamping in each circle.  Finish the florette by stamping the solid circle center using Daffodil Delight ink.  
  • Using Daffodil Delight ink stamp small florette on card base layer, then stamp off before the 2nd stamping in each circle.  Finish the florette by stamping the solid circle center using Daffodil Delight ink  
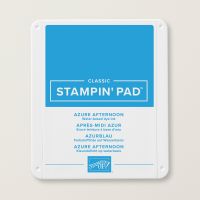
  • Using Azure Afternoon ink,  stamp twinkle stars filling in around the stamped florette's.  
  • Pleat the 3 florette die cut strips, pleating on the score lines.  Adhere to each other to make a circle.  Adhere die cut circle on the back and on the front of the pleated florette.
  • Adhere pleated florette to center of card front.  
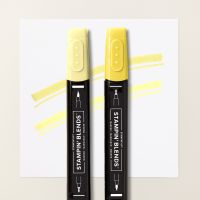
  • Using Tuxedo Black ink, stamp cake image from Attention Shoppers bundle.  Color using Lemon Lolly and Azure Afternoon Stampin' Blends.  Die cut using corresponding silhouette die.  Adhere to center of pleated florette using dimensionals.  
  • Using Blueberry Bushel ink, stamp sentiment.  Fussy cut.  Adhere to cake and florette using dimensionals.  I stacked dimensionals in to to keep the sentiment level.
  • Scatter gems on card front.
  • Using Azure Afternoon an Daffodil Delight inks, stamp twinkle stars across top and bottom of message liner.
  • Using Blueberry Bushel ink stamp sentiment on message liner.  Adhere message liner to inner matte layer.  Adhere to inner card base.  
Now, let's check out all of the other projects in today's Blog Hop!

Thank you for visiting my blog today!
Hugs,
Teah
Product List

Peaceful Evergreens in Mossy Meadow

  Peaceful Evergreens, Peaceful Seasons September Sketch Challenge This month I am participating in the Ink & Inspiration sketch challen...