 |
| Botanical Layers paired with Perfectly Penciled DSP |
 |
| Botanical Layers and Perfectly Penciled DSP |
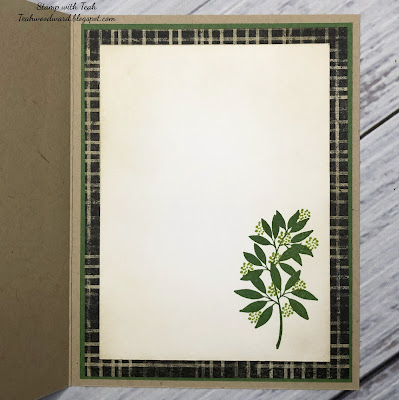
Todays YouTube live video I paired Botanical Layers and Perfectly Penciled DSP. I used a blending brush to add Crumb Cake ink to the DSP so that it would match the cardstock better. I love how this card turned out. Well worth the extra effort of extra ink application.
Product details can be found at the end of this post.
Watch the YouTube Tutorial here
Cutting instructions:
- Card base: 5 1/2" x 8 1/2", scored at 4 1/4". This is a side fold card
- Front card matte layer: 3 3/4" x 5"
- Front card DSP layer: 3 5/8" x 4 7/8"
- Front Focal layer: 2 5/8" x 3 7/8"
- Inner matte layer: 4" x 5 1/4"
- Inner DSP layer: 3 7/8" x 5 1/8"
- Inner message liner: 3 3/8" x 4 5/8"
Thank you for visiting my blog today! I hope this has inspired you to get your fingers inky!
Hugs,
Teah


Super card Teah, I love the perfectly penciled dsp. The stamp set compliments beautifully :)
ReplyDeleteSuper technique using the ink to colour the dsp!
Love your card! The greens and the DSP - so pretty together.
ReplyDelete