Friday, January 9, 2026

Beautiful Motifs in Soft Sea Foam


Beautiful Motifs + Damask Embossing Folder

This weeks monochromatic Insta Hop color is Soft Sea Foam!  I've used the Beautiful Motifs Bundle to create this card..... I am soooooo in love with how this turned out!  Below is the full tutorial.  I hope you enjoy making this as much as I did!


Beautiful Motifs Bundle + Damask Embossing Folder

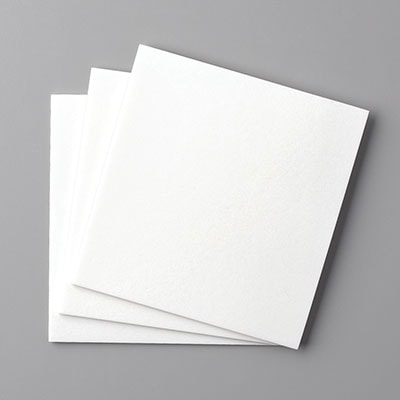
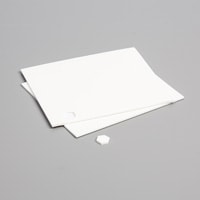
To give the leaves "lift" I applied Adhesive Backed Foam Sheet to the back of the cardstock prior to die cutting.... basically turning them into a puffy sticker.  Once I applied them to the Basic White card stock, I simply trimmed off the hang over with a pair of paper snips.
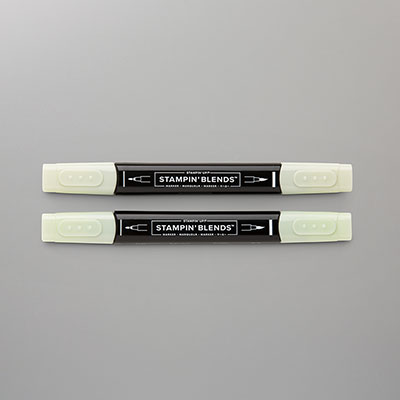
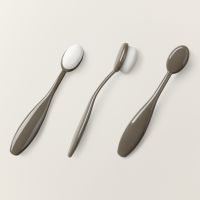
I used Soft Sea Foam Stampin' Blends to color the stems of the flowers, and I used Soft Sea Foam ink and and blending brush to add extra color to Soft Sea Foam card stock to give it a bit of extra richness.  

Beautiful Motifs + Damask Embossing Folder

Cutting Instructions:
  • Card base - Soft Sea Foam: 4 1/4" x 11", scored at 5 1/2"
  • Card front layer - Soft Sea Foam: 4 1/4" x 5 1/2".  This layer is embossed.
  • Focal point layer - Basic White: 3 1/4" x 4 1/2"
  • Leaves - Soft Sea Foam: Scraps to die cut 2.  I applied adhesive foam sheet to the back of the cardstock prior to die cutting.
  • Flowers - Basic White: Scraps to die cut 2.  
  • Inner message liner - Basic White: 3 7/8" x 5 1/8"
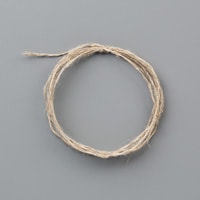
  • Linen Thread: 20"
Assembly Instructions:
  • Adhere card front layer to front of card base.
  • Using Pecan Pie ink, stamp sentiment on front of focal point layer.
  • Peel backer off of die cut leaves and adhere to focal point layer.  Using paper snips, trim off parts that extend beyond the focal point layer.
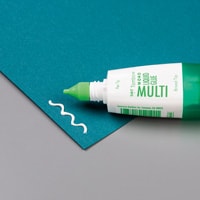
  • Using Soft Sea Foam Stampin' Blends, color stems and leaves of flowers.  Adhere to leaves using mini glue dots.  Keep any trimmings from the stems.  Apply them to the inner message liner.  
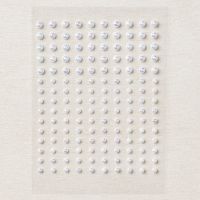
  • Apply linen bow using mini glue dots.  Scatter pearls on focal point layer.
  • Adhere left over bits from the flower stems to the inner message liner.  Adhere liner to inner card base.
Thank you for visiting my blog today!
Hugs,
Teah Woodward
Product List

Friday, January 2, 2026

Endless Love in Melon Mambo


Endless Love Bundle + Hearts of Love 3D Embossing Folder

So much fun shifting gears to making Valentine cards!  They are my 2nd favorite season of cards to make.  I am so in love with the new Endless Love bundle in the new January - April Mini Catalog.  The stamps are mix and match sentiments.  The dies are FULL of details. And the coordinating Hearts of Love 3D Embossing folder is extremely sweet!  The links won't be live till January 6th, but here they are so you don't have to search:  Endless Love Bundle - 167062, Hearts of Love 3D Embossing Folder - 167071.

Endless Love Bundle + Hearts of Love 3D Embossing Folder

This weeks monochromatic Insta Hop color is Melon Mambo, and I couldn't wait to die cut these detailed hearts in this beautiful shade of pink.  To lift them off the card front, I used Foam Adhesive Sheet on the back of the Melon Mambo cardstock.  The Melon Mambo Stampin' Blends were perfect for coloring the rhinestones so that they are a perfect match.

Endless Love Bundle

Cutting Instructions:

  • Card base - Basic White: 4 1/4" x 11", scored at 5 1/2"
  • Front matte layer - Melon Mambo: 3 7/8" x 5 1/8"
  • Card front layer - Basic White: 3 3/4" x 5".  This layer is embossed.
  • Hearts - Melon Mambo: scraps to detail die cut 2.   Apply Foam Adhesive Sheet to back of cardstock before die cutting.  Mine goes through the die cutter just fine.
  • Sentiment label - Basic White: scrap to die cut label
  • Inner matte layer - Melon Mambo: 3 7/8" x 5 1/8"
  • Inner message liner - Basic White: 3 3/4" x 5

Assembly Instructions:

  • Emboss card front layer.  Adhere to front matte layer.  Adhere to front of card base using dimensionals
  • Remove adhesive backer from the die cut hearts, and apply to card front.
  • Using Melon Mambo ink, stamp sentiment on label.  Adhere to card front using dimensionals (I used a piece of the adhesive backed foam sheet because it is a different height than the dimensionals.
  • Using Melon Mambo Stampin' Blends, color rhinestones.  Scatter on card front.
  • Using heart cluster die, die cut 2 corners of message liner.
  • Using Melon Mambo ink, stamp sentiment on inner message liner.  Adhere to inner matte layer.  Adhere to inner card base.

Thank you for visiting my blog today!

Hugs,

Teah Woodward

Stampin' Up! Independent Demonstrator

Product List
Friday, December 19, 2025

Etched Autumn in Berry Burst


Etched Autumn

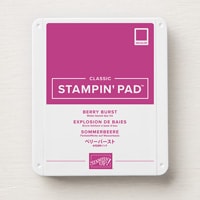
I can't believe I am going to say this!!.....Today was the last monochromatic Insta Hop of the year! This weeks color is Berry Burst!  I've used the Etched Autumn background stamp to create this classic Thank You card.


Etched Autumn stamp set

If you are looking for one of the easies cards ever to make, this is it!  Tutorial below. 

Cutting instructions:

  • Card base - Basic White: 5 1/2" x 8 1/2", scored at 4 1/4".
  • Front matte layer - Berry Burst: 3 7/8" x 5 1/8"
  • Card front - Basic White: 3 3/4" x 5"
  • Sentiment matte layer - Berry Burst: 1/2" x 2"
  • Sentiment label - Basic White: 3/8" x 1 7/8"
  • Inner matte layer - Berry Burst: 3 7/8" x 5 1/8"
  • Inner message liner - Basic White: 3 3/4" x 5"
Assembly instructions:
  • Using Berry Burst ink and background stamp, stamp card front layer.  Adhere to front matte layer.  Adhere to front of card base.
  • Using Berry Burst Ink, stamp sentiment on label.  Adhere to matte layer.  Adhere to card front using dimensionals.
  • Mask off inner message liner, leaving exposed 3/4" on one end of the liner.  Using Berry Burst ink, stamp leaf pattern on exposed area.  Adhere message liner to the inner matte layer.  Adhere to inner card base.
Thank you for visiting my blog today!
Hugs,
Teah

Product List

Flourish & Frames in Timid Tiger

  Flourish & Frames Bundle + Swiss Dot Hot Foil Plate + Sweetly Sentimental Hot Foil Dies Timid Tiger is this weeks Monochromatic Insta ...