Thursday, September 26, 2024

Peaceful Evergreens in Mossy Meadow


Peaceful Evergreens, Peaceful Seasons


September Sketch Challenge

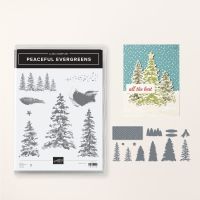
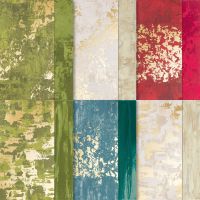
This month I am participating in the Ink & Inspiration sketch challenge for September.  I knew right away that the Peaceful Evergreens bundle, along with the coordinating paper and embossing folder would be perfect for this card.

Peaceful Evergreens


Peaceful Evergreens

I hope you enjoy this card and are inspired by it :). Be sure to check out the below list of live links to see what everyone else did with this sketch.

Cutting Instructions:
  • Card base: 4 1/4" x 11".  Scored at 5 1/2".  This is a top fold card.
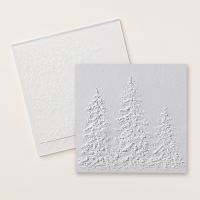
  • Right card front panel: 2 3/4" x 5 1/2". This panel will be embossed with the Painted Trees embossing folder.
  • Left DSP card front panel: 1 1/2" x 5 1/2"
  • Focal point matte layers: 2 pcs 2 1/4" x 2 1/4"
  • Focal point darker DSP layer: 2 1/8" x 2 1/8"
  • Focal point lighter DSP layer: 2 1/8" x 2 1/8"
  • Sentiment label: Scrap to die cut
  • Inner message liner: 3 7/8" x 5 1/8"
Assembly Instructions: 
  • Using bone folder, burnish score line.
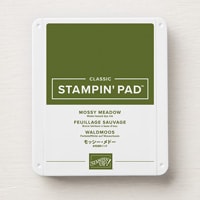
  • Emboss the right card front panel using the Painted Trees embossing folder.  Using a sponge dauber, apply a layer of Old Olive ink to the raised portions of the tree.  Using sponge dauber, now apply Mossy Meadow to just the highest points of the embossed image.  Adhere this panel to the right side of the front card base.
  • Adhere left DSP card front panel.
  • Adhere darker DSP focal point layer to focal point matte layer.  Adhere to card front using dimensionals
  • Using Mossy Meadow ink, stamp tree image on light DSP focal point layer.  Adhere to focal point matte layer.  Adhere to card front using dimensionals.  Note that the two square layers are off set.
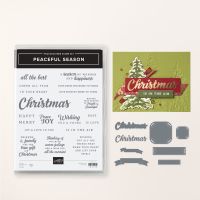
  • Using Versamark ink, stamp sentiment on scrap of Mossy Meadow cardstock.  Apply Gold Heat embossing powder.  Heat set.  Die cut using label die from Peaceful Season dies.  Adhere to focal point.  I stacked the dimensionals on the outer edges for stability.
  • Using Mossy Meadow ink, stamp sentiment and image on inner message liner.  Adhere to inner card base.
Let's go see how everyone else did with this sketch challenge:

Thank you for visiting my blog today!
Hugs,
Teah


Product List

Thursday, September 5, 2024

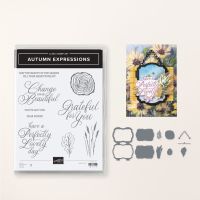
Autumn Expressions - Gratitude card


Autumn Expressions 


Detail view of detail die cut leaves


Autumn Expressions

For today's Mini Catalog Blog Hop, I created this great card! I love cards that express gratitude and I was happy to make this card specifically for today :). Down below my free tutorial, you will find the list of demonstrators that participated in today's blog hop.  Be sure to click on each of their live links in order to see all the great examples that you can make from this new mini catalog.

This new Mini Catalog really delivers!  I have several bundles and I love ALL of them.  I can't wait to share each one of them with you.

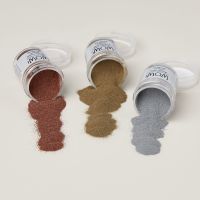
Now regarding today's card... fun fact.... I used the entire collection to make this card.  The stamps, dies, DSP, detail dies, coordinating ribbon and embellishments.  Because I used the entire collection, making this card was a breeze.  And I used the new Wow! heat embossing powder from the Annual Catalog, for the sentiment.  I love it so much!

Cutting instructions:
  • Card base - Early Espresso: 5 1/2" x 8 1/2", scored at 4 1/4".  This is a top fold card.
  • Front matte layer - Cajun Craze: 3 7/8" x 5 1/8"
  • Card front layer - DSP: 3 3/4" x 5"
  • Sentiment label - Early Espresso: 2 1/4" x 3 1/2"
  • Detail die cut leaves - Basic White: scrap
  • Inner matte layer - Cajun Craze: 3 7/8" x 5 1/8"
  • Inner message liner - Basic White: 3 3/4" x 5"
  • Ribbon: 10"

Assembly Instructions:
  • Using bone folder, burnish score line.
  • Adhere DSP card front layer to front matte layer.  Adhere to front of card base using dimensionals.
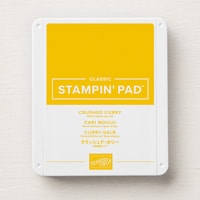
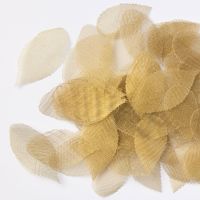
  • Using the following inks, Mossy Meadow, Cajun Craze, Crushed Curry, Pumpkin Pie using blending brushes to a scrap of Basic White paper.  Detail die cut 2 leaves.  Using mini glue dots, adhere 2 Woven Golden Leaves and the 2 detail die cut leaves together to make an arrangement.
  • Using Versamark ink, stamp sentiment on sentiment label.  Add Metallic Gold Wow! embossing powder.  Heat set.  Adhere leaf arrangement to back side of upper left corner of sentiment.  Adhere sentiment to card front.  
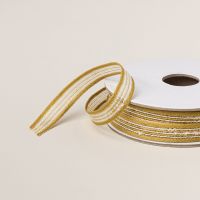
  • Adhere bow using mini glue dot.
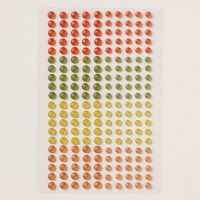
  • Scatter gems on card front.
  • Using Early Expresso ink, stamp sentiment on inner message liner.  Stamp leaf image in corners.
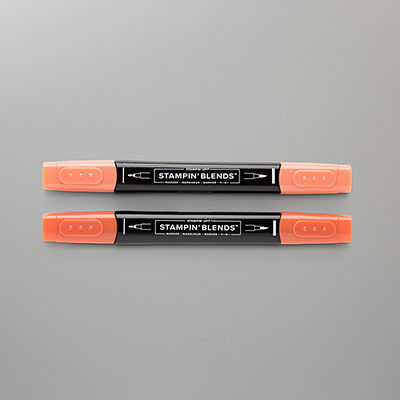
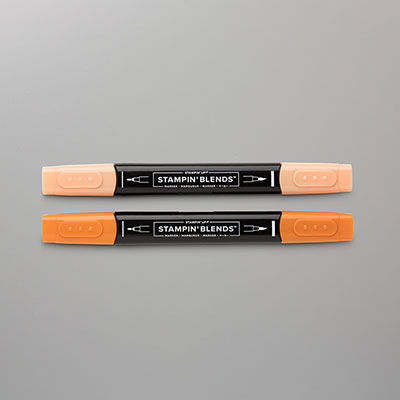
  • Using Pumpkin Pie and Cajun Craze Stampin' Blends, color leaf images.
  • Adhere inner message liner to inner matte layer.  Adhere to inner card base.
Now let's go check out those other blogs!

Thank you for visiting my blog today!
Hugs,
Teah
Product List


Peaceful Evergreens in Mossy Meadow

  Peaceful Evergreens, Peaceful Seasons September Sketch Challenge This month I am participating in the Ink & Inspiration sketch challen...