Thursday, August 29, 2024

Friends for Life Thinking of You card


Friends for Life

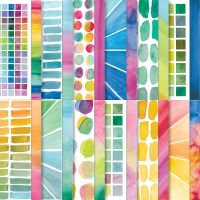
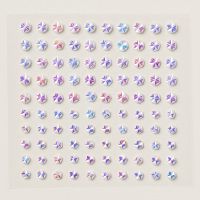
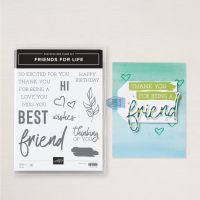
I've now made a few cards using the Friends for Life bundle, and I have to say that this is my favorite card so far!  I love how the DSP crackled, the little bit of white looks like shine to me.... making the dots look like droplets.  I love that effect!

Friends for Life

Friends for Life inner view

Cutting instructions:
  • Card base - Basic White: 5 1/2" x 8 1/2", scored at 4 1/4".  This is a side fold card.
  • Front matte layer - Basic White: 3 7/8" x 5 1/8"
  • Card front layer - DSP: 3 3/4" x 5" - This layer will be embossed.
  • Leaf stem - Basic White: scrap
  • Sentiment label - Basic White: Die cut 2 1/4" diameter
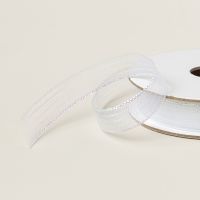
  • Ribbon 4"
  • Inner message liner - Basic White: 3 3/4" x 5"
  • Inner DSP strip: 3/8" x 5"
Assembly instructions:
  • Burnish score line using bone folder.
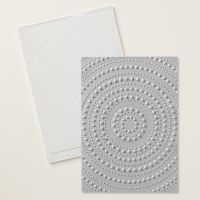
  • Emboss card front layer.  (I chose to offset the center of the circles, so that there was room for the stem of leaves off to one side).  Adhere to front matte layer.  Adhere to front of card base using dimensionals.
  • Using Tuxedo Black ink, stamp sentiment on circle label.  Adhere to card front using dimensionals and while positioning (and adhering) stem of leaves.
  • Tie knot in ribbon and adhere to base of stem using a mini glue dot.
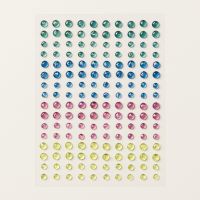
  • Scatter gems on card front.
  • Adhere DSP strip to inner message liner.  Adhere message liner to inner card base.
Thank you for visiting my blog today!
Hugs,
Teah

Product List

Friends for Life Birthday card

Friends for Life

 
Friends for Life detail view

Friends for Life inner view

Friends for Life has had my attention for quite a while, so I'm glad that I finally got to play with the bundle!  I was heavily inspired by a birthday card that I received in the last couple of weeks.  It was so cute and I immediately knew it would look great using the Full of Life DSP and Friends for Life bundle!

Cutting Instructions:
  • Card Base-Basic White Thick: 5 1/2" x 8 1/2", scored at 4 1/4".  This is a side fold card.
  • Card front DSP: 4" x 5 1/4"
  • Focal point DSP layer: 2 1/2" x 4 1/8"
  • Matte circle layer- Melon Mambo: 3 1/4" diameter
  • Sentiment circle layer- Basic White: 2 3/4" diameter
  • Friend matte layer - Basic Black: scrap
  • Friend contrast layer - Basic White: scrap
  • Inner message liner - Basic White: 3 3/4" x 5"
  • Inner DSP strip: 3/8" x 5"
Assembly Instructions:
  • Burnish score line using bone folder.
  • Adhere card front DSP to front of card base.
  • Adhere focal point DSP layer to card front using dimensionals.
  • Using Tuxedo Black ink, stamp sentiment on upper half of circle.   Adhere to matte circle layer.  Adhere to focal point DSP using dimensionals.
  • Adhere Basic White "friend" to front of Basic Black "friend" layer.  Adhere to front of circle layers.  
  • Scatter gems on card front.
  • Adhere DSP strip to inner message liner.  Adhere to inner card base.
Thank you for visiting my blog today!
Hugs,
Teah

Product List

Monday, August 26, 2024

Full of Life Thank You card

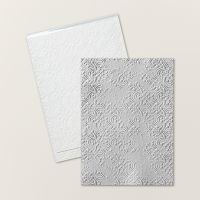
Full of Life + Distress Tile embossing folder


August 2024 sketch challenge

Today I am participating in the Crafty Collaborations Crafty Challenge Blog Hop.  The August challenge is to create a card using the sketch guideline provided above.  

I selected the Full of Life DSP to design my card around.  I love the look of this paper with the added texture of embossing.

Below my tutorial, you will find a list of participants for todays Blog Hop.  Be sure to click on each of their links to see additional designs inspired by this sketch challenge. 

Full of Life DSP + Distressed Tile embossing folder


Cutting Instructions:
  • Card Base 5 1/2" x 8 1/2", scored at. 4 1/4".  This is a top fold card.
  • Wide card base strip: 1" x 5 1/2"
  • Front matte layer: 2 5/8" x 3 7/8"
  • DSP card front layer: 2 1/2" x 3 3/4". This layer will be embossed.
  • Narrow strip layer: 5/8" x 5"
  • Sentiment label: 1/2" x 2 1/4"
  • Inner message liner: 3 7/8" x 5 1/8"
  • Inner decorative DSP strip: 3/8" x 5 1/8"
Assembly instructions:
  • Burnish score line using bond folder.
  • Adhere wide card base strip slightly below halfway of front card base.
  • Emboss DSP card front layer.  Adhere to front matte layer. Adhere centered on front card base over wide strip.
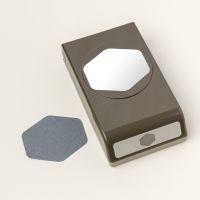
  • Flag cut narrow strip ends using the Heart Felt Hexagon punch.  Adhere over matted card front layer and centered over the wide strip,  using dimensionals.  
  • Using Pretty Peacock ink, stamp sentiment on label.  Adhere to edge of narrow strip using dimensionals.
  • Scatter across card front as desired.
  • Adhere DSP strip on inner message liner.  Adhere to inner card base.
Now, let's visit my friends blogs to see what they did with this sketch!

Thank you for visiting my blog!
Hugs,
Teah
Product List

Decorative Trees - Seasons Greetings

  Decorative Trees Today I am contributing to the Crafty Collaborations Share it Sunday Blog Hop.  I had some fun using the Decorative Trees...