Monday, July 10, 2023

Paper Florist Dies - So many possibilities!!

Paper Florist Dies

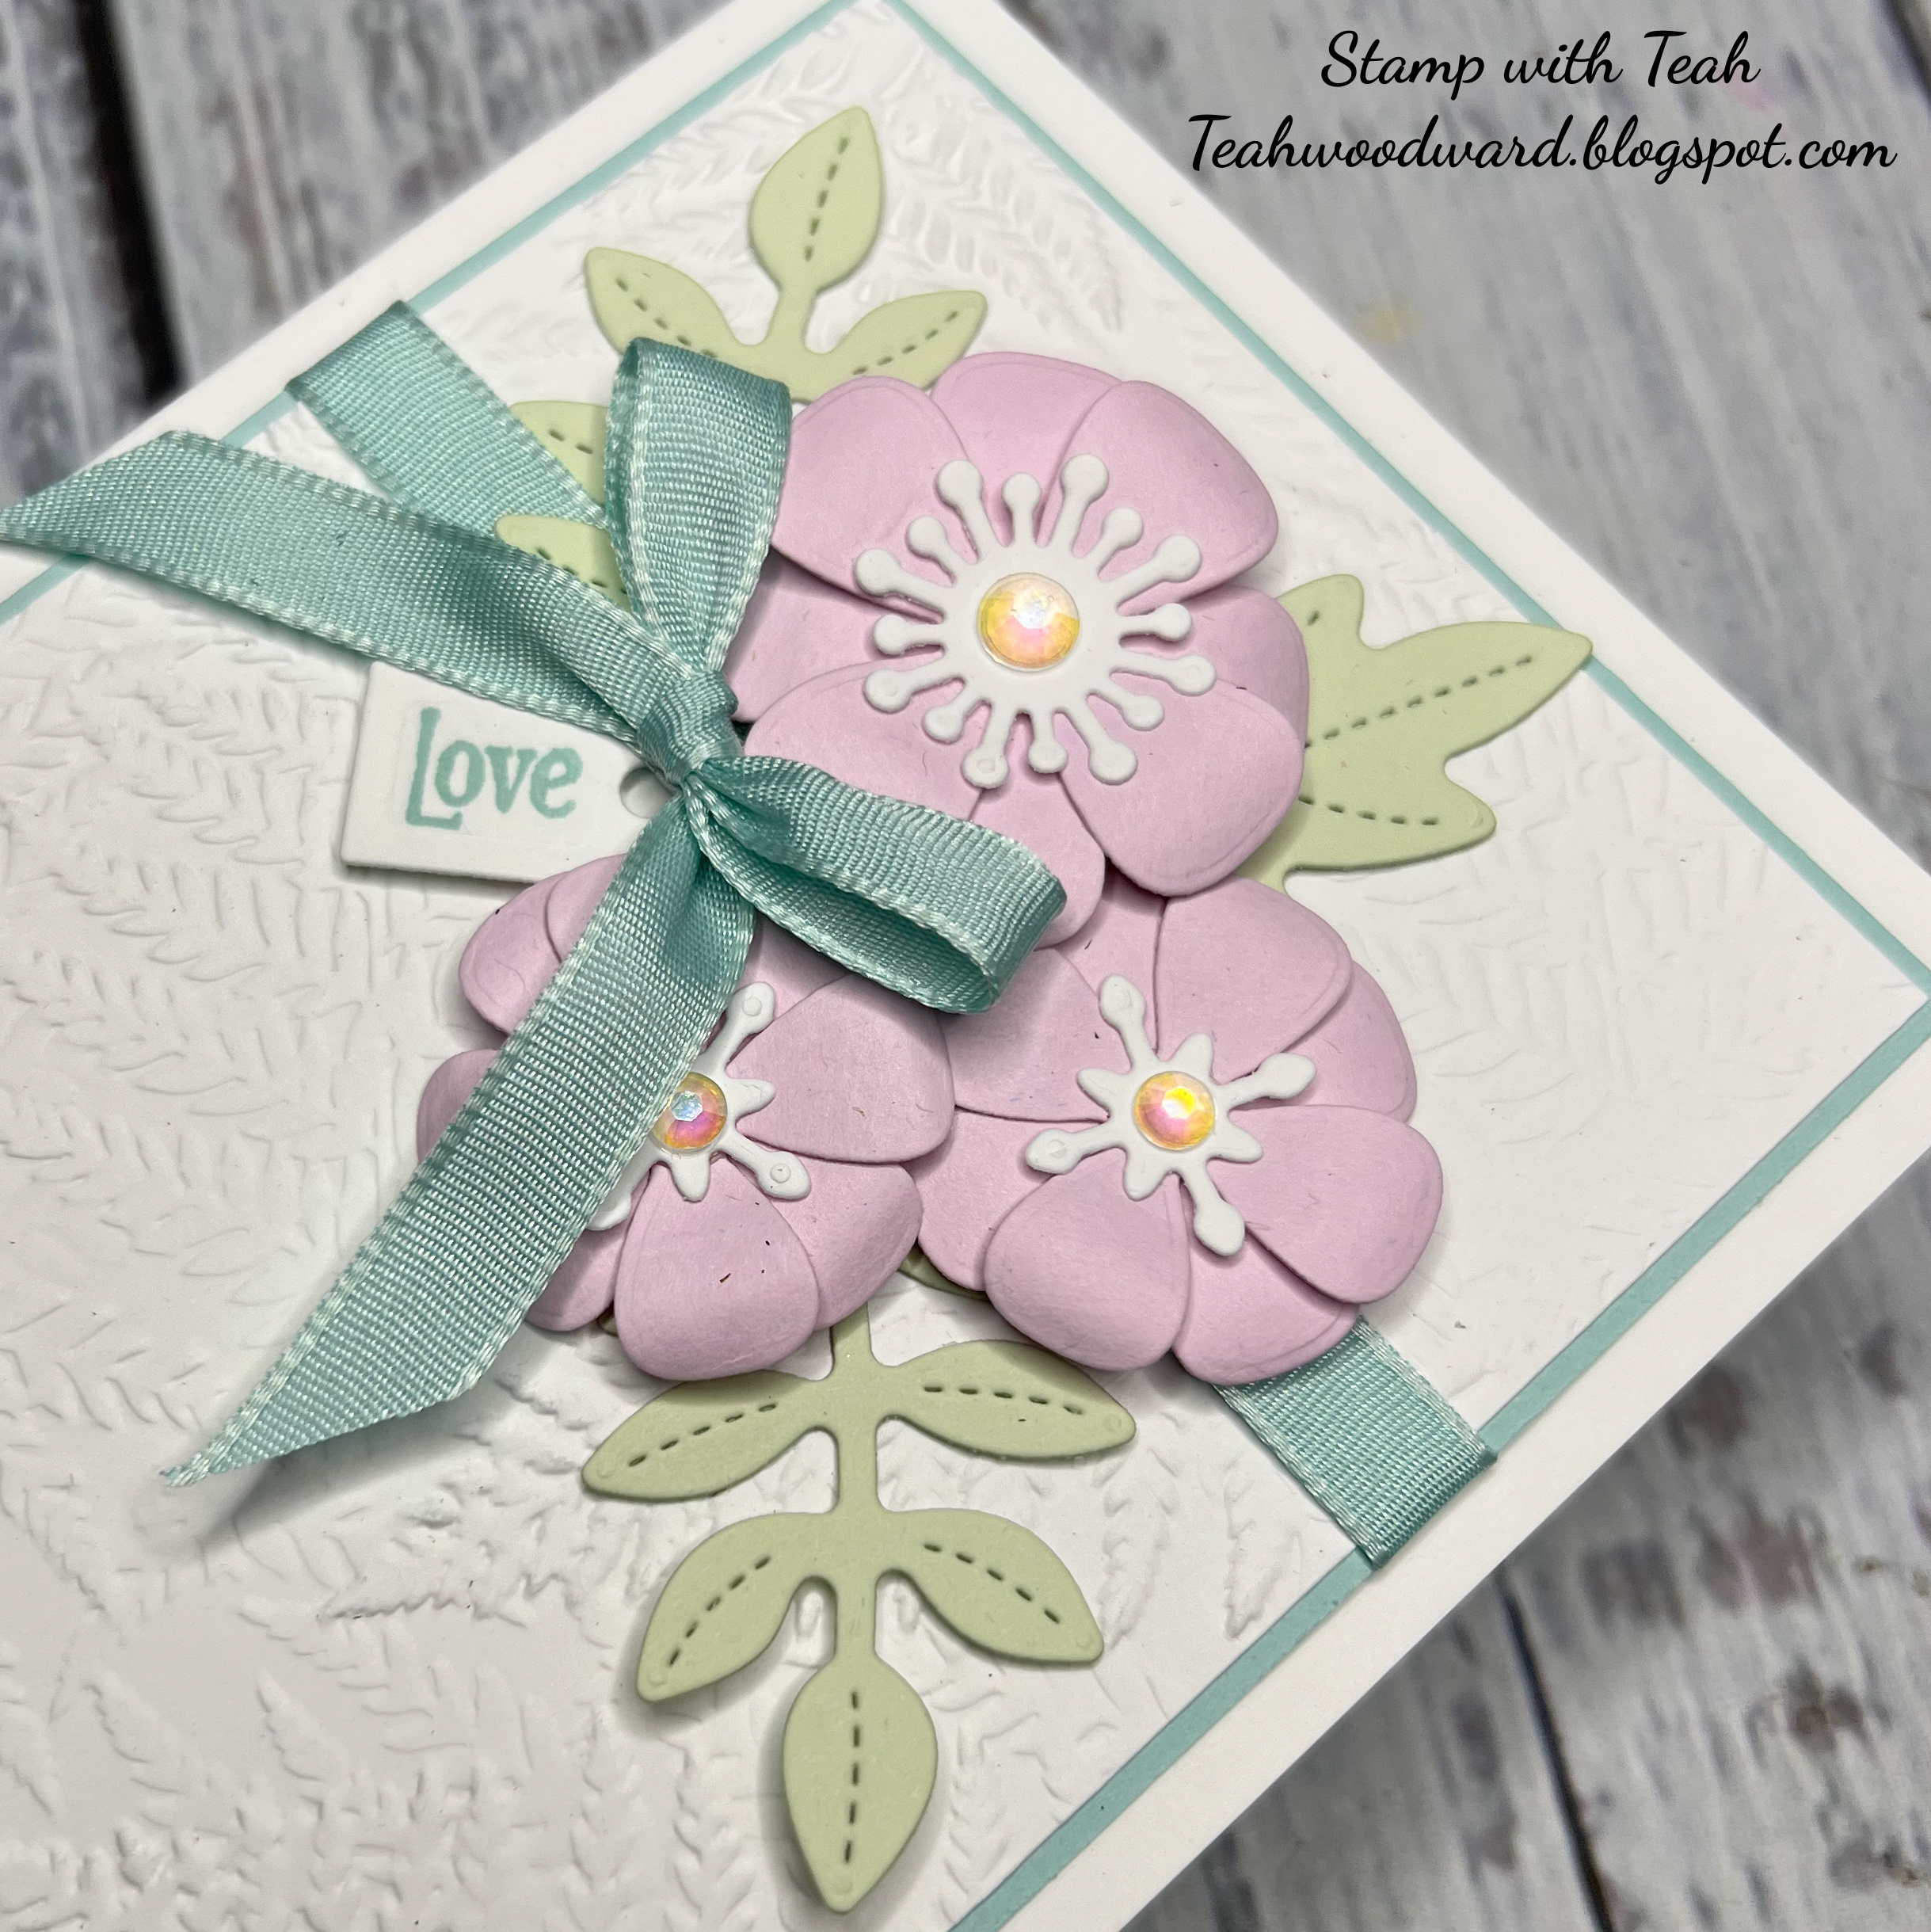
 Today I had the pleasure of demonstrating the Stampin' Up!® Paper Florist Dies.  These are a stand alone product, meaning that they do not have a coordinating stamp set.   In this demonstration, I created very different cards by using the same flower petals and just changing their styling, as well as using different embossing folders, colors, embellishments and stamp sets to create very diverse cards.

Here is the link to the YouTube tutorial for all three cards


Paper Florist Dies
Paper Florist Dies - Inner View

Paper Florist Dies - Detailed View

Cutting instructions: 
  • Card Base - Pebbled Path: 4 1/4" x 11", scored at 5 1/2".  This is a top fold card
  • Front and inner matte layers - Flirty Flamingo: 3 7/8" x 5 1/8"
  • Card front - Pebbled Path: 3 3/4" x 5"
  • Inner message liner: 3 3/4" x 5"
  • Scrap - Flirty Flamingo: die cut 6 large petal layers and 3 small petal layers
  • Scrap - Basic White: die cut 4 small white cross petal layers
  • Scrap - Lost Lagoon: die cut 3 spray bases
  • Scrap - Pretty Peacock: die cut 4 leaves
  • Scrap - Petal Pink: die cut 9 flower buds for sprays, 3 flower centers using square die and 2 small scalloped flower centers.
  • Sentiment - Petal Pink: 5/8" wide strip cut.
  • Ribbon 10"
  • See YouTube tutorial for assembly instructions.

Product List
Paper Florist Dies
Paper Florist Dies - detail view

Paper Florist Dies - Inner view
Cutting instructions: 
  • Card Base - Basic White: 5 1/2" x 8 1/2", scored at 4 1/4".  This is a side fold card.
  • Front and inner matte layers - Pool Party: 3 7/8" x 5 1/8"
  • Card front - Basic White: 3 3/4" x 5"
  • Inner message liner- Basic White: 3 3/4" x 5"
  • Scrap - Bubble Bath: die cut 2 large petal layers and 4 small petal layers
  • Scrap - Soft Sea Foam: die cut 3 leaf stems and 1 leaf
  • Scrap - Basic White: die cut 1 round flower center, 2 smaller flower centers, small tag for sentiment
  • Ribbon 16"
  • See YouTube tutorial for assembly instructions.

Product List
Paper Florist Dies 
Paper Florist Dies - Detail view

Paper Florist Dies - inner view
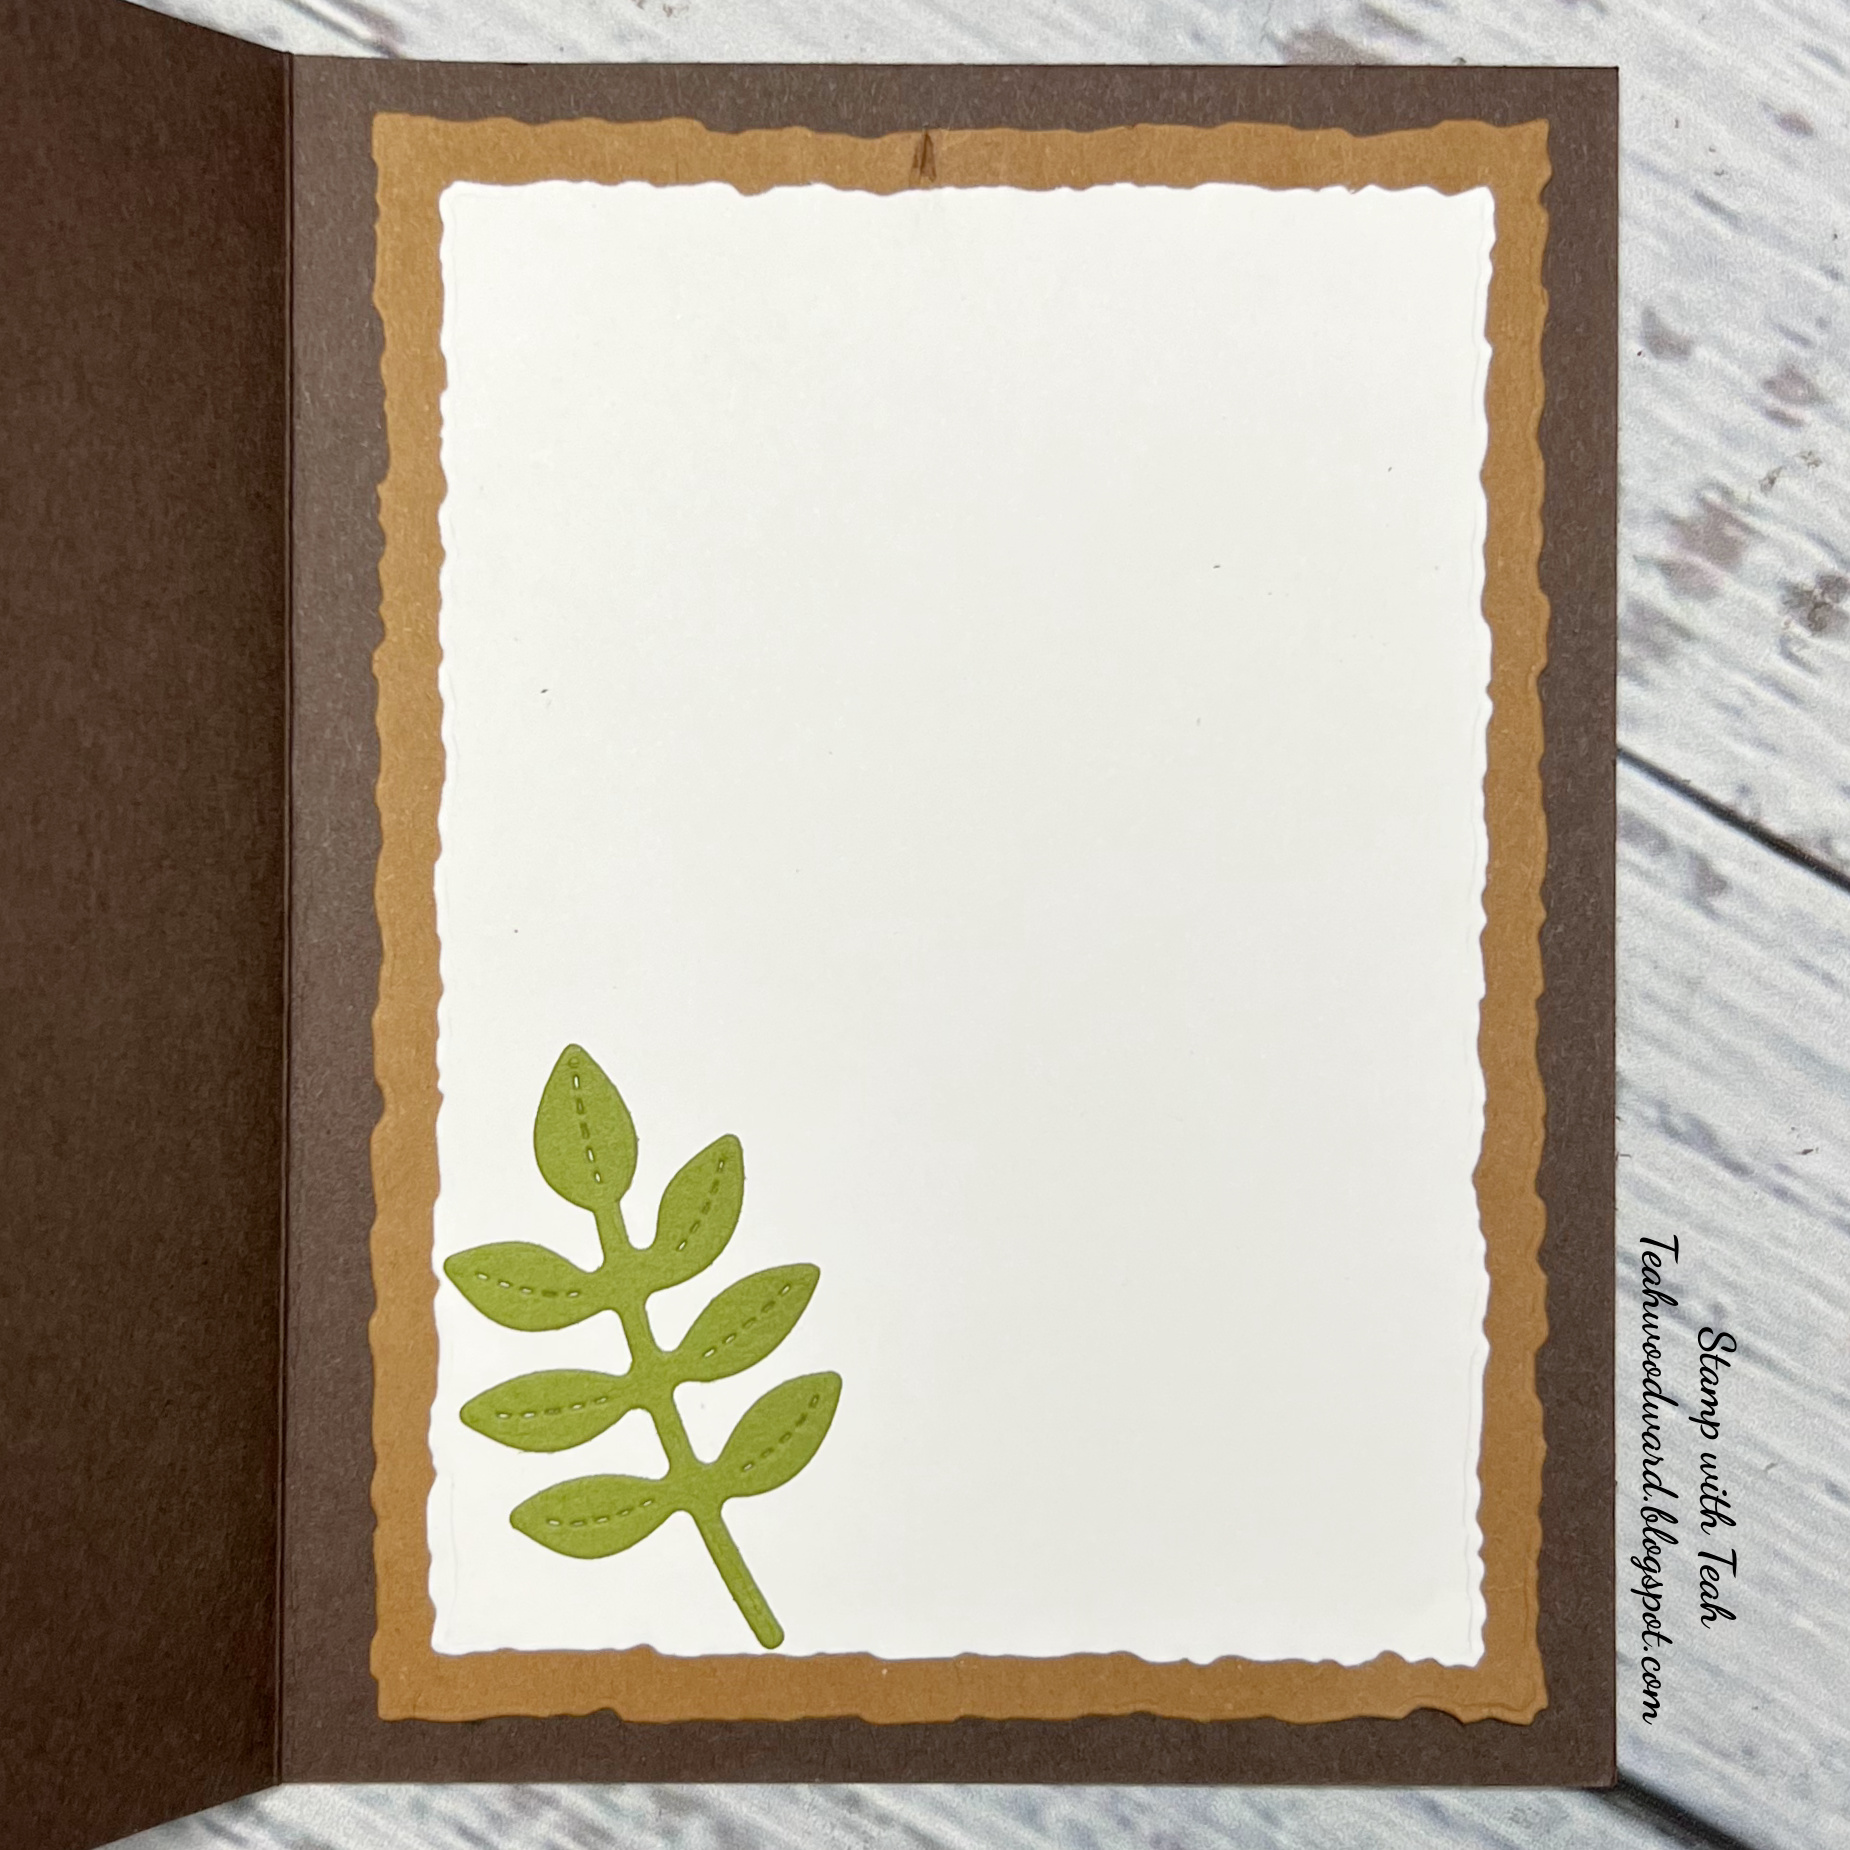
Cutting instructions: 
  • Card Base - Early Espresso: 5 1/2" x 8 1/2", scored at 4 1/4".  This is a side fold card.
  • Front  matte layer - Basic White: Die cut largest die from Deckled Rectangle dies.
  • Card front - Pecan Pie: Die cut 2nd largest die from Deckled Rectangle dies.
  • Inner matte layer - Pecan Pie: Die cut largest die from Deckled Rectangle dies.
  • Inner message liner- Basic White: Die cut 2nd largest die from Deckled Rectangle dies.
  • Scrap - Crushed Curry: die cut 2 large petal layers, 4 small petal layers and 6 flower buds
  • Scrap - Cajun Craze: die cut 3 small dotted flower centers
  • Scrap - Early Espresso: die cut 2 small  and 1 large circles as matte layers for flower centers
  • Scrap - Old Olive: die cut 2 leaf stems and 2 spray stem bases
  • Scrap - Mossy Meadow: die cut 3 leaves
  • Sentiment- Basic White: stamp and die cut
  • Ribbon 16"
  • See YouTube tutorial for assembly instructions.

Product List

Thank you for visiting my blog today!
Hugs,
Teah

Wednesday, July 5, 2023

House warming gift tag


Ringed with Nature stamp set, Bough Punch, Layering Leaves stamp set


Ringed with Nature stamp set, Bough Punch, Layering Leaves stamp set

                                         
Back view

Yesterday, I made a gift tag to go on a package of cookies that I made as a housewarming gift for an 82 year old man.  Today, this friend has mentioned that gift tag several times.   How much he loved the tag and the message from John and I, written on the back.   While a gift tag may seem like an insignificant detail to some, to others it means a lot.  He has no idea that I made that gift tag from scraps of cardstock.  All he sees is a hand crafted message from the heart.  I love "the details".  When the recipient loves the details too, well then that is a double win for me!

Cutting Instructions:    
  • Gift tag front - Very Vanilla: die cut using largest die
  • Gift tag back - Copper Clay: die cut using largest die
  • Scrap - Very Vanilla: stamp and fussy cut house
  • Scrap - Old Olive: punch 2 leaf stems from Bough Punch

Assembly Instructions:      
  • Adhere gift tag front and gift tag back to each other, aligning all edges and hole for bakers twine.
  • Using Early Espresso ink, stamp sentiment in lower right corner of tag front.
  • Using Old Olive ink, stamp 2 leaf stems on gift card front.  
  • Punch out 2 leaf stems out of Old Olive cardstock using Bough punch. 
  • Using Pecan Pie ink, stamp house.  Using Copper Clay, stamp roof on house.  Fussy cut.   Adhere leaf stems to back of house using mini glue dots.  Adhere to gift tag front using dimensionals.
  • Scatter Rustic Metallic Dots to tag front.
  • Add Bakers twine to hole at top of gift tag.
  • Tie bow, adhere using mini glue dot.                 
I hope you are inspired to add an extra touch to your next gift, no matter how small.

Thank you for visiting my blog today!

Bless others by sending your cards!

Hugs,

Teah

Product List


Noel Tidings in Poppy Parade

Noel Tidings Bundle + Pretty Poinsettia Impression Dies  Last Friday's monochromatic challenge color was Poppy Parade and it did not dis...