Thursday, August 22, 2024

Country Flowers - color challenge

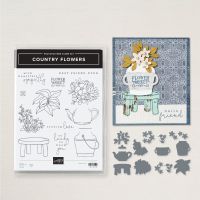
Country Flowers


Country Flowers detail view

Country Flowers inner view

I love color challenges because it forces me to think and plan out my card.  Today,  I created this card for the Ink and Inspiration Blog Hop.  I had the option of being inspired by the photo or the colors.  I went with the colors this time.
August 2024 challenge

I successfully used all of the colors in this challenge.  I love it when I can do that!  Below my tutorial, you will find a live link for each of the people that participated in today's challenge.  Please be sure to check out everyones blogs.  You will surely be inspired by every one.

Cutting Instructions: 
  • Card base: 4 1/4" x 11", scored at 5 1/2".  This is a top fold card
  • Front matte layer: 3 7/8" x 5 1/8"
  • Card front layer: 3 3/4" x 5".  This layer will be embossed.
  • Leaves: scrap of Basic White.  Stamp and die cut 2
  • Flowers: scrap of Basic White.  Stamp and die cut 1
  • Bucket: scrap of Basic White.  Stamp and die cut 1
  • Sentiment: scrap
  • Inner matte layer: 3 7/8" x 5 1/8"
  • Inner message liner: 3 3/4" x 5"
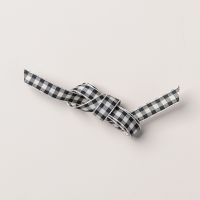
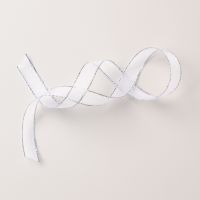
  • Ribbon 10"
Assembly instructions:
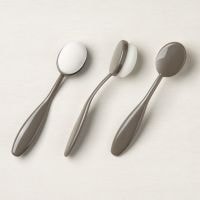
  • Using blending brush and Garden Green ink, apply ink to center of card front layer.  Using blending brush and Gray Granite, apply ink just under the Garden Green ink.  (This will be the "shadow" effect for the bucket).  Emboss this card front layer.
  • Adhere embossed card front to front matte layer. Adhere to front of card base.
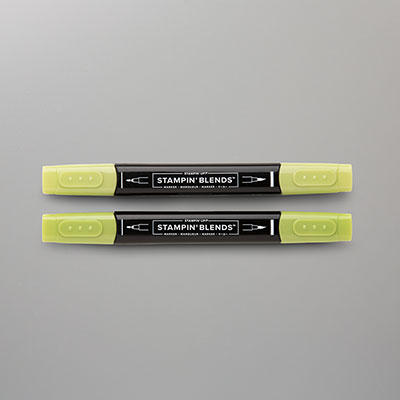
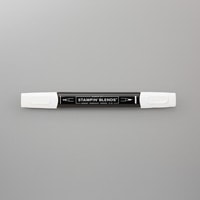
  • Use Tuxedo Black ink to stamp 2 sets of leaves.  Using Granny Apple Green Stampin' Blends, color leaves.
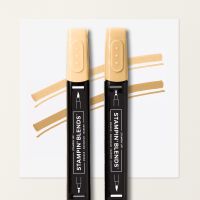
  • Use Tuxedo Black ink to stamp flowers.  Using Peach Pie and Granny Apple Green Stampin' Blends to color the flowers.
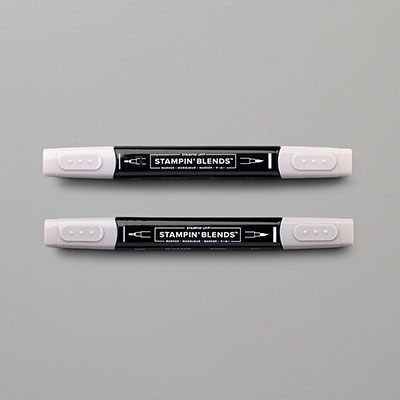
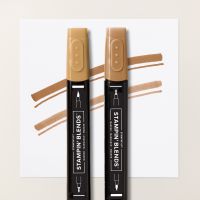
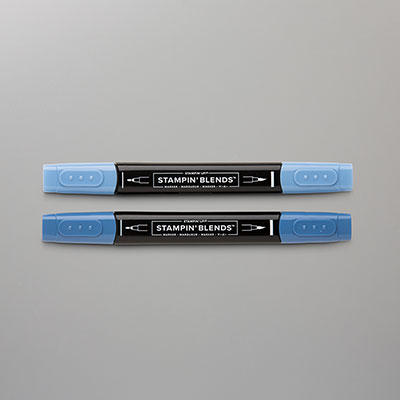
  • Use Tuxedo Black ink to stamp bucket. Use Gray Granite, Pecan Pie and Blueberry Bushel Stampin' Blends to color bucket.
  • Use Tuxedo Black ink to stamp sentiment.  Fussy cut.
  • Adhere bucket and leaves using multipurpose glue.  Adhere flowers using dimensionals.  Adhere sentiment using dimensionals.
  • Adhere bow using a mini glue dot.
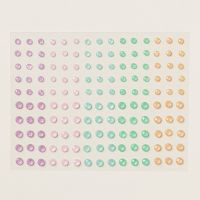
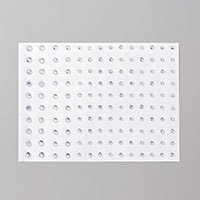
  • Scatter gems on card front
  • Using Tuxedo Black ink stamp sentiment on inner message liner.  Using Garden Green ink, stamp image in corners.  Adhere message liner to inner matte layer.  Adhere to inner card base.
Let's take a look at everyone else's blogs:

Thank you for visiting my blog today!
Hugs,
Teah
Product List

Tuesday, July 23, 2024

Sophisticated Sled - Night of Navy

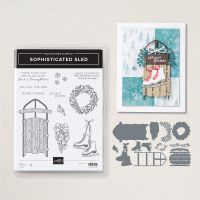
Sophisticated Sled

July 19 Monochromatic challenge

I created this card for the Night of Navy Insta Hop.  I just love this card so much that I want to share it again!

Sophisticated Sled detail view

Sophisticated Sled inner view

To see my original post and visit all of the contributors Instagram pages, start here: https://www.instagram.com/p/C9m8dEXJo5Q/?img_index=1

Cutting instructions:
  • Card base - Basic White: 5 1/2" x 8 1/2", scored at 4 1/4".  This is a side fold card.
  • Front matte layer- Night of Navy: 5 1/8" x 3 7/8"
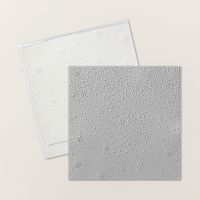
  • Card front layer - Basic White: 5" x 3 3/4".  Emboss this layer with Snowflake Sky.
  • Sled rails - Smoky Slate: 4" x 2" add Adhesive Foam Sheet to back of cardstock prior to die cutting.
  • Wood grain sled slats - Night of Navy: 3" x 2" cuts out slats and control bar.
  • Boots - Basic White: scrap, die cut x 2
  • Shoe laces - Night of Navy: scrap, die cut x 2
  • Blades - Smoky Slate: scrap, die cut x 2
  • Bough - Night of Navy: scrap, die cut 1
  • Bough - Basic White: scrap, die cut 1
  • Sentiment label - Basic White: strip cut 1/2" x 1 3/4"
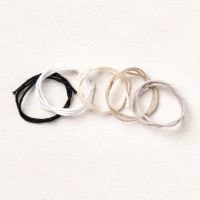
  • Bakers twine - Basic White: 5"
  • Ribbon: 10"
  • Inner matte layer - Night of Navy: 5 1/8" x 3 7/8"
  • Inner message layer - Basic White: 5" x 3 3/4".  
Assembly instructions:
  • Using bone folder, burnish score line.
  • Adhere embossed card front to front matte layer.  Adhere to front of card base using dimensionals.
  • Adhere wood grain slats and control bar to sled rails.
  • Add laces to slit in boots, using a spot of adhesive on the back of the boot to hold the laces in place.
  • Adhere skate blades to base of boots.
  • Using Night of Navy Stampin' Blends, color White Bakers Twine.  Adhere loops of colored bakers twine from ice skates, at 2 different lengths, to hang from under the boughs at head of sled.  
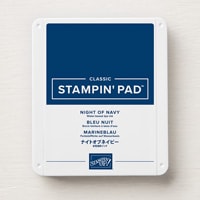
  • Using Night of Navy ink and blending brush, add ink to a scrap of Basic White.  Die cut 1 bough.
  • Adhere the Night of Navy bough and the lighter colored bough to head of sled using mini glue dots.  
  • Adhere bow to center of boughs.  
  • Adhere sled to card front layer.  
  • Using Night of Navy ink, stamp sentiment on sentiment label.  Banner cut ends.  Adhere to top of sled using dimensionals.
  • Scatter gems on card front.
  • Using Night of Navy ink, stamp sentiment on inner message liner.  Stamp snowflakes along top and bottom of message liner.  Adhere message liner to inner matte layer.  Adhere to inner card base.
Thank you for visiting my blog today!
Hugs,
Teah

Product List

August 4-31 15% off of Select DSP's & Cardstocks

 Let's be real.  We are all looking for ways to stretch our budgets these days.  !5% off of select DSP's & Cardstocks is a darn ...